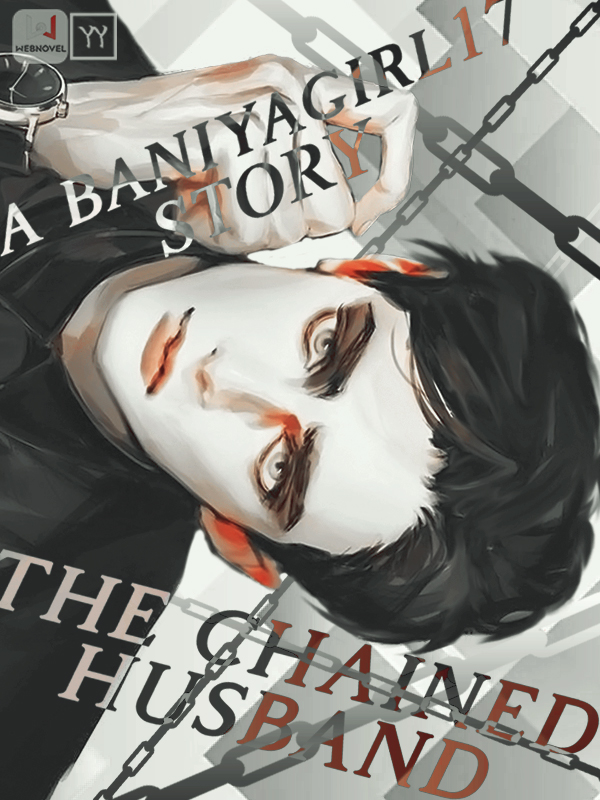
Tutorial #7
Romance Genre
Time spent: 1.5 hours
Total amount of sprites/images used: 3
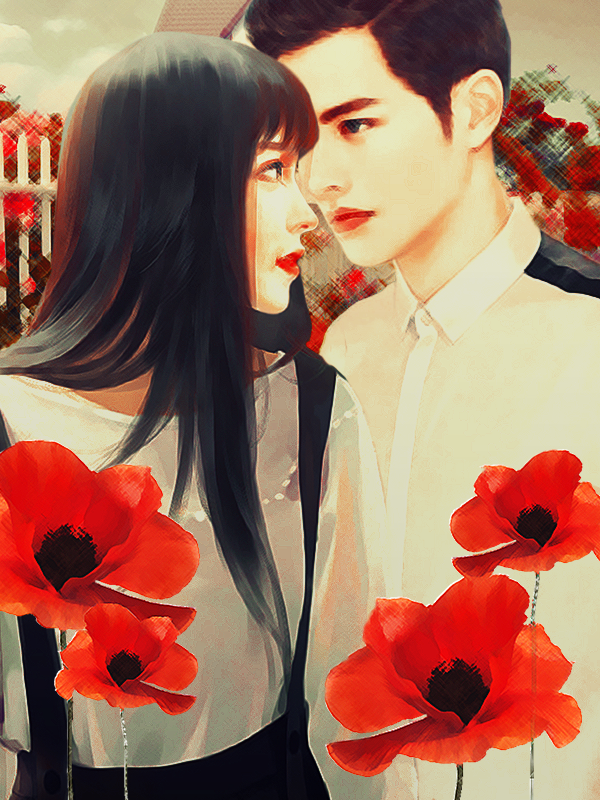
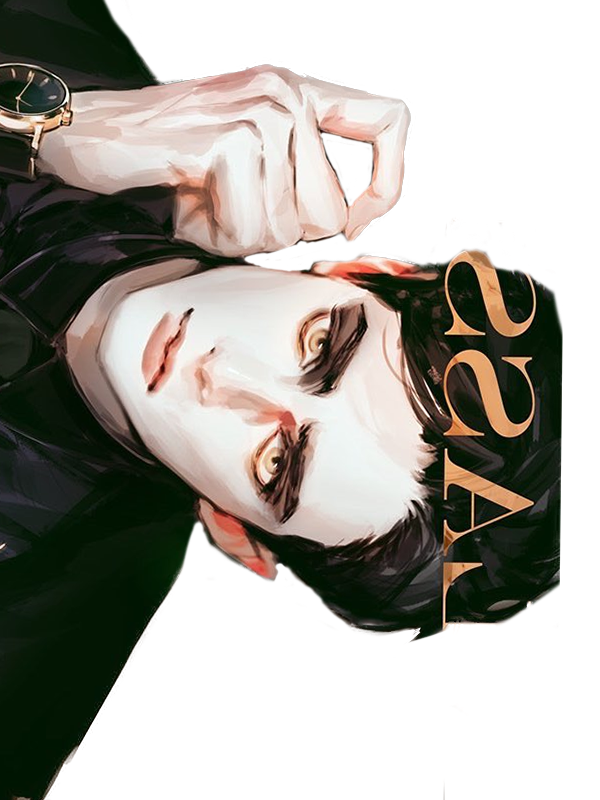
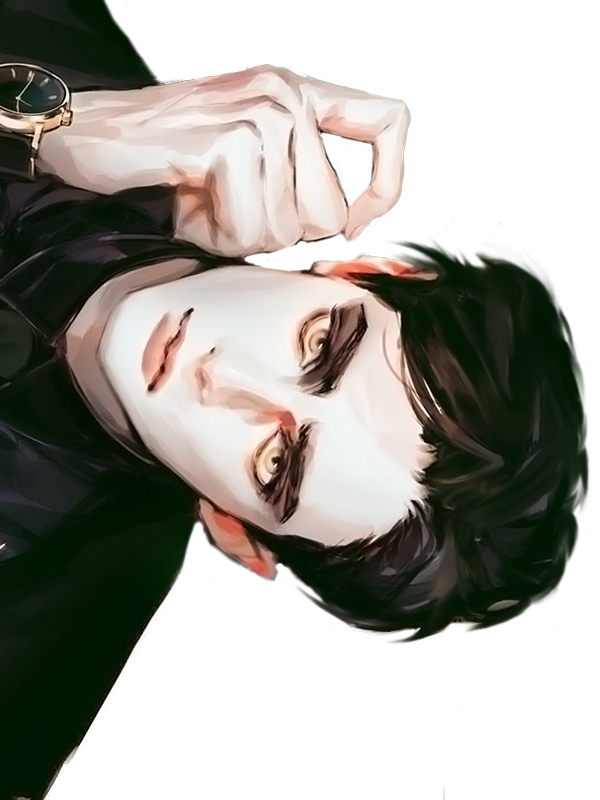
Step 1: Place desired image on canvas.
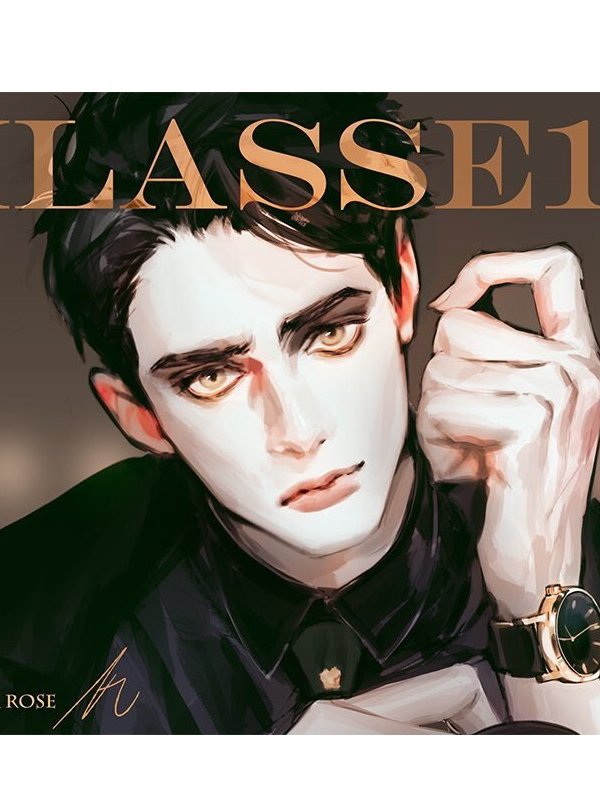
Step 2: Rotate image and remove background with the quick select tool + eraser tool.
Step 3: Remove undesired text over hair with the smudge tool. To get a really great texture, follow the directions of the strands of hair and make the smudge tool as small as possible. Use the yellow left over from the text as color complexity/highlights. Also, extend the hair with the same tool to create more volume.
Step 4: Using one single image of a row of chains, duplicate and rotate to create an entire background of chains. The reason why I decided to duplicate the chains instead of finding a background of chains online was because I wanted to be able to fully customize what it looked like.

Step 5: Use the Gradient Overlay blending option on each individual chain layer to add dimension. I set the gradient to a black and white one.

Step 6: Add PSD coloring to sprites and add a geometric background as well.
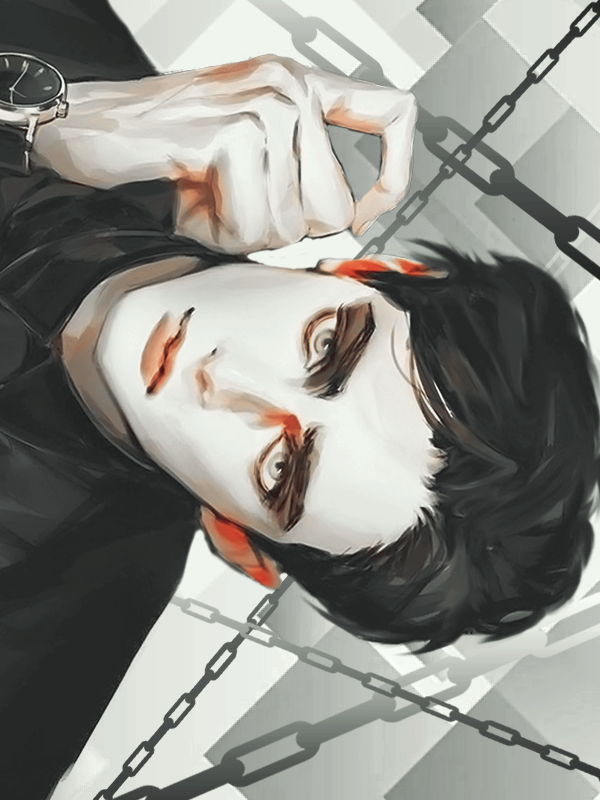
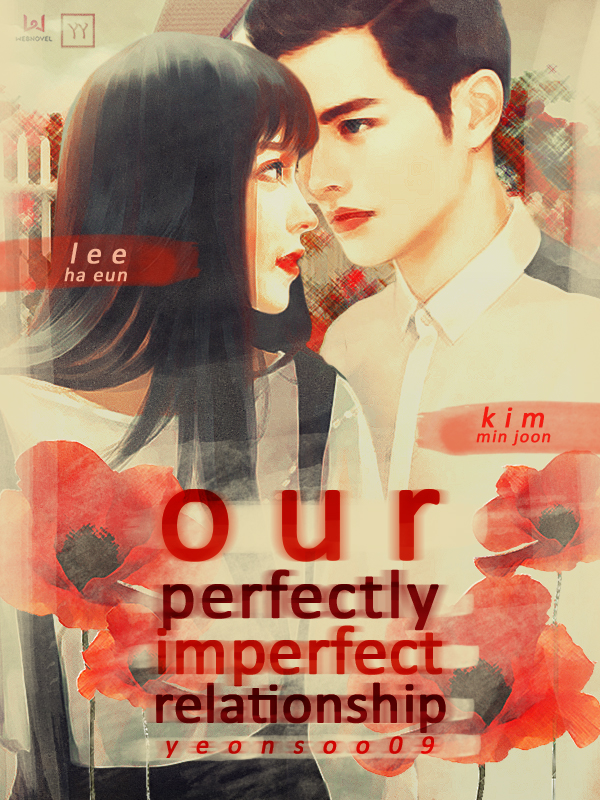
Step 7: Add text (on the Difference mode) and voila.