Tutorial #11
Romance Genre
Time spent: 6 hours (!!!)
Total amount of sprites/images used: 4
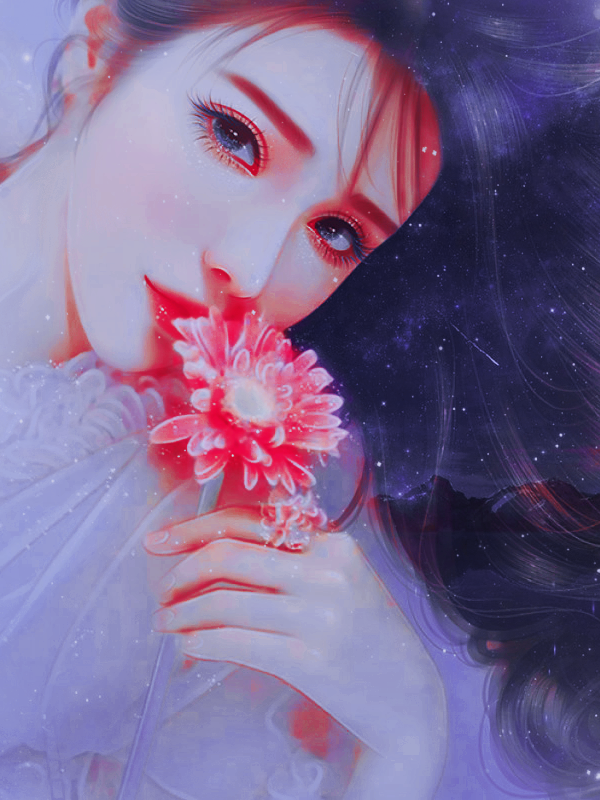
STEP 1: Place desired images on canvas.
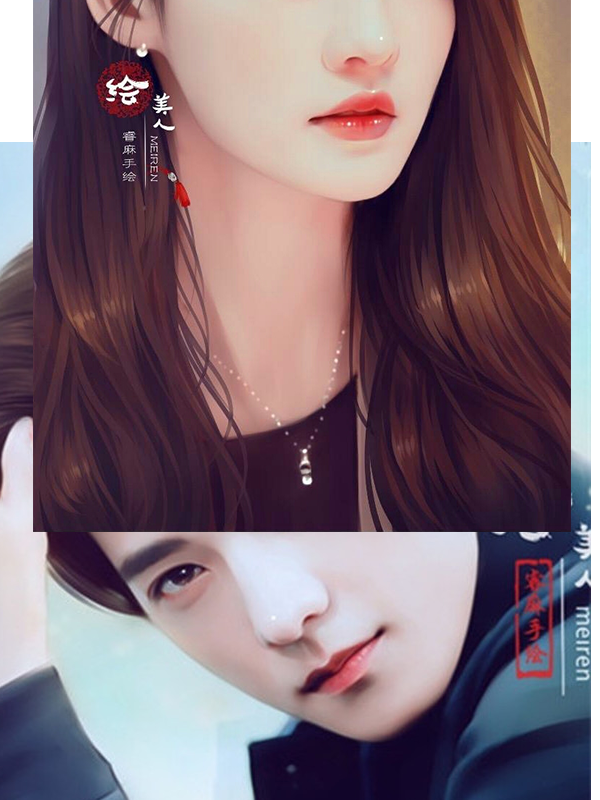
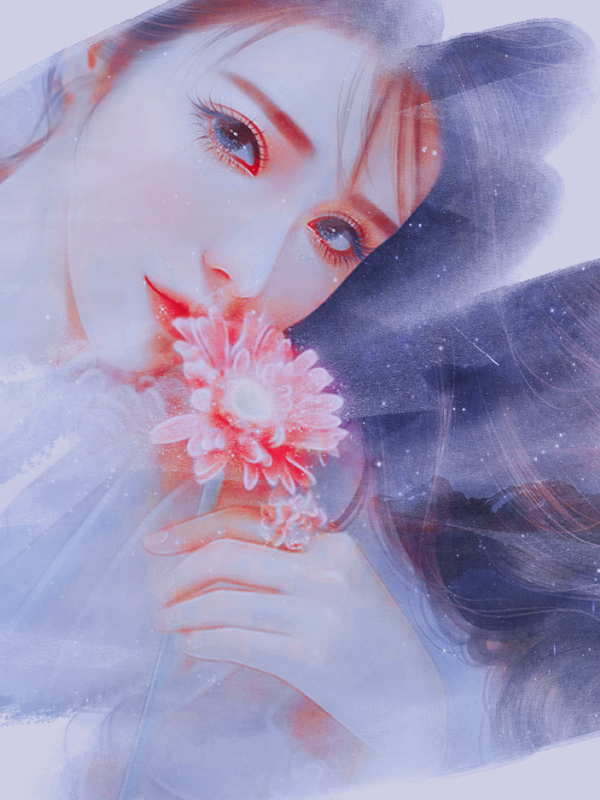
STEP 2: Erase background of female sprite and resize both sprites then position to achieve desired effect. Use the smudge tool to extend the hair and remove watermarks. Also, add color balance layer to male sprite to match photo temperatures with the female sprite.
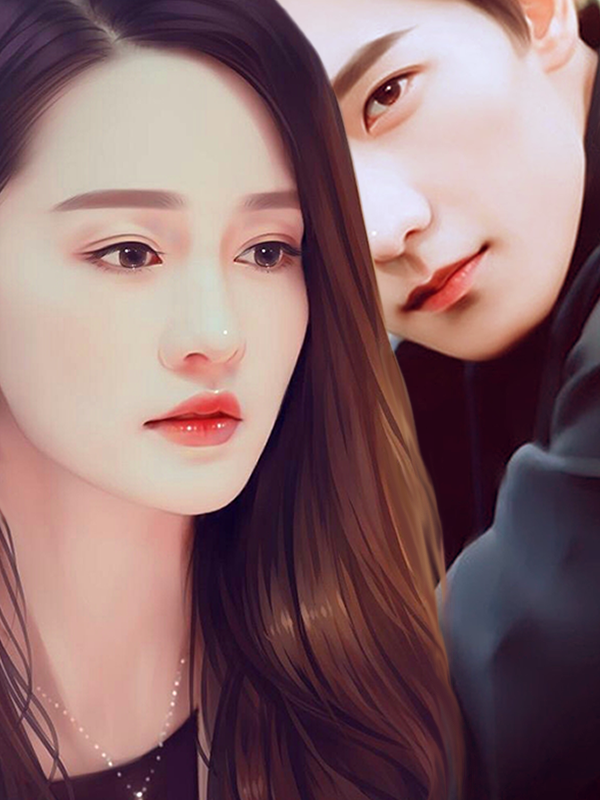
STEP 3: Add PSD coloring and more adjustment layers to achieve desired colors. Use Filter Gallery Diffuse Glow to add grain texture. Add bokeh texture.

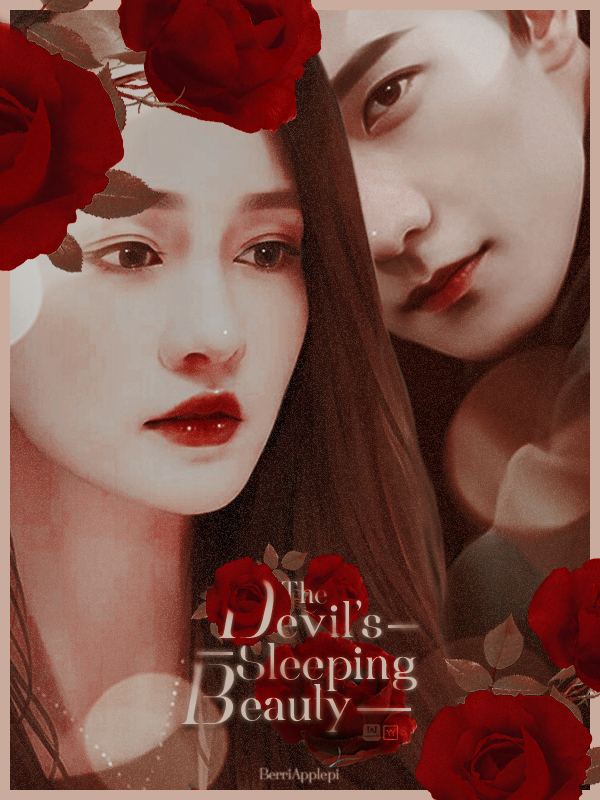
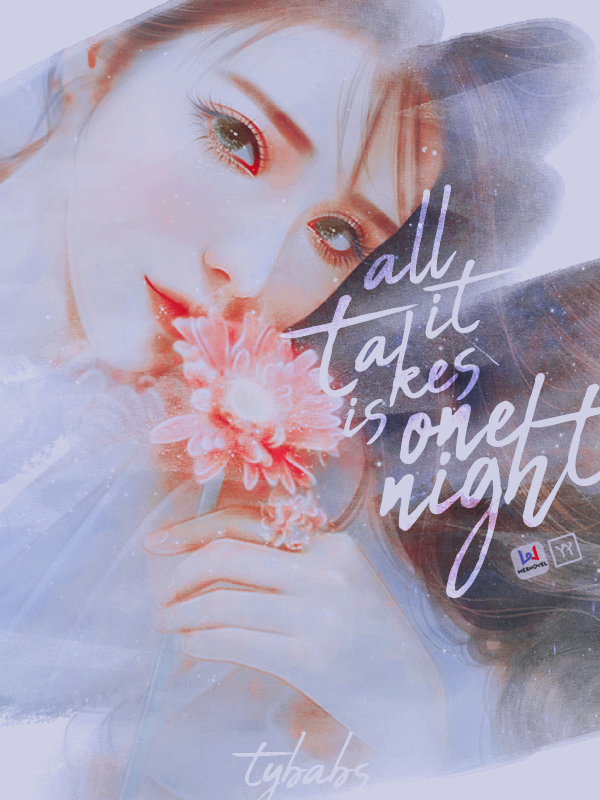
STEP 4: The amount of time that this step took (i.e. finding the sprites needed took about 30% of the time, all the steps before this one took about 5% of the time, and this step took 65% of the time. literally.) made me so frustrated that I forgot to split it up. So, basically, this is the end product. Added text first (which was frustrating because I had no idea what i wanted to do with the typography. went through around 15 fonts before finding what I wanted), then added border (easy enough), then something felt missing, so I added the roses, which I had trouble positioning. Anyways, end product. yay.