[deleted my bitter rant that existed her a few millennia ago, damn i was a bitter & angry kid]

Alright, end of mini-rant. I'm just a little frustrated with some people in this community. Let's get the tutorial started.


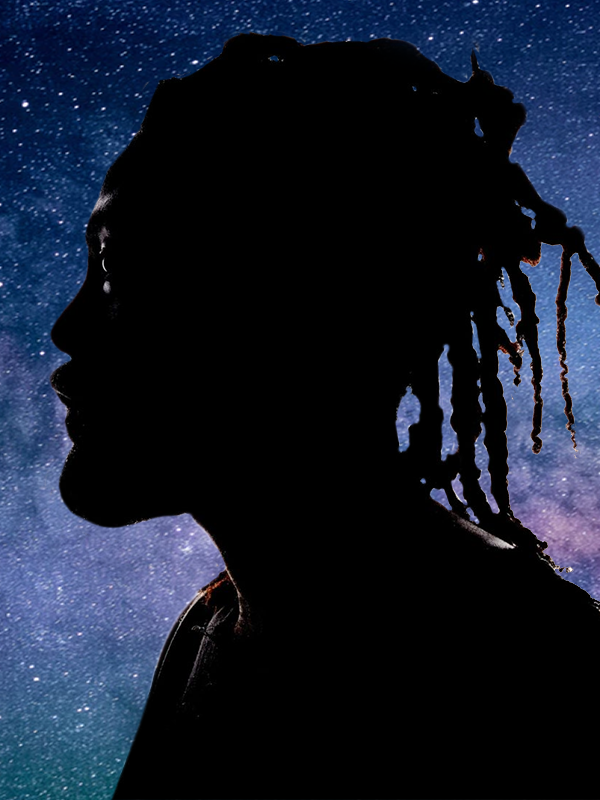
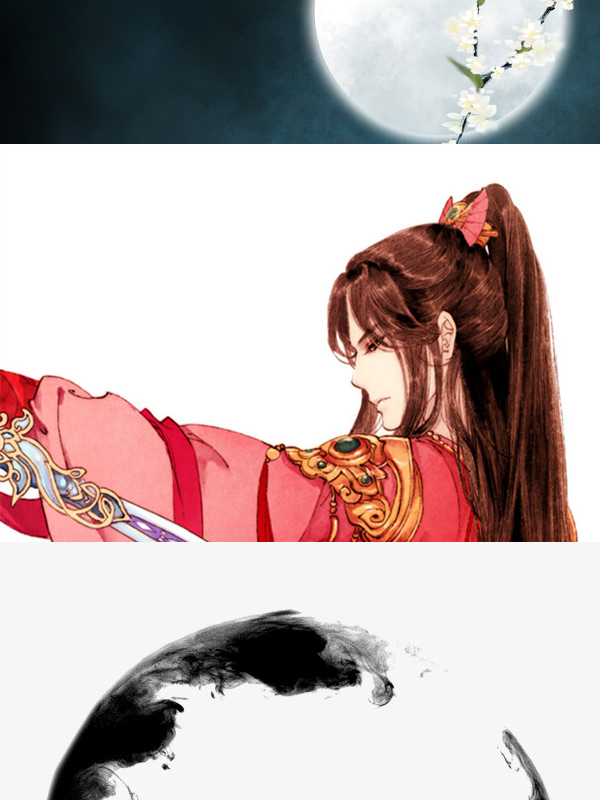
STEP 1: Get your images that you want to use and move them on the canvas. Note that I do use Photoshop CS6; it's my preferred program.
step1

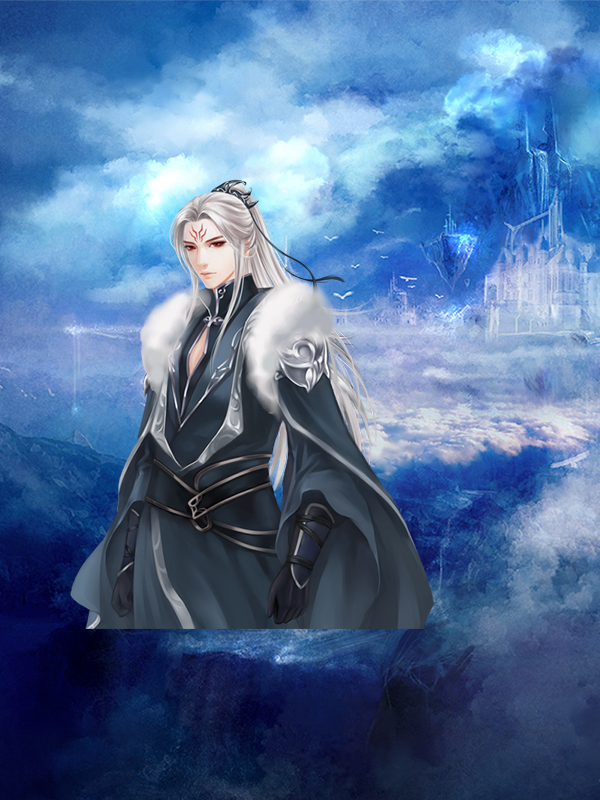
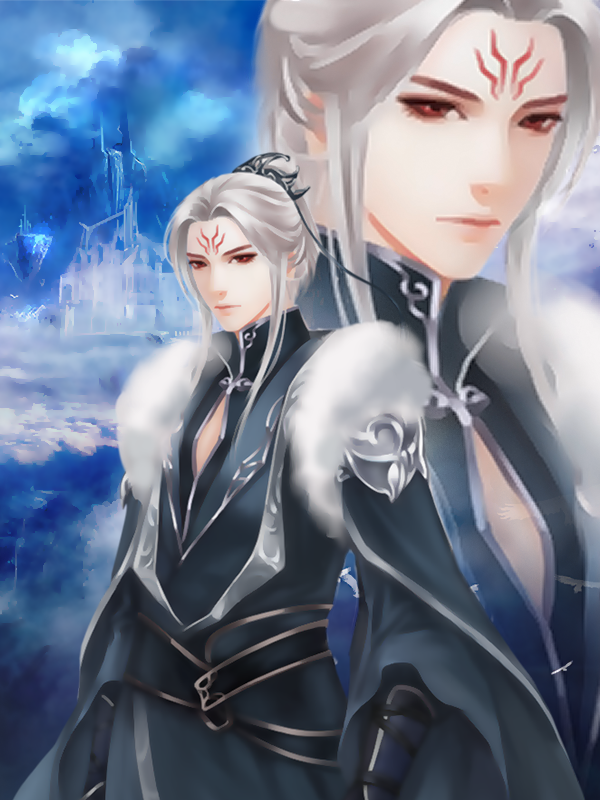
STEP 2: Move the images around until you get a satisfying composition. I also used a few filters/smart blurs to raise the quality of the images themself.
step2

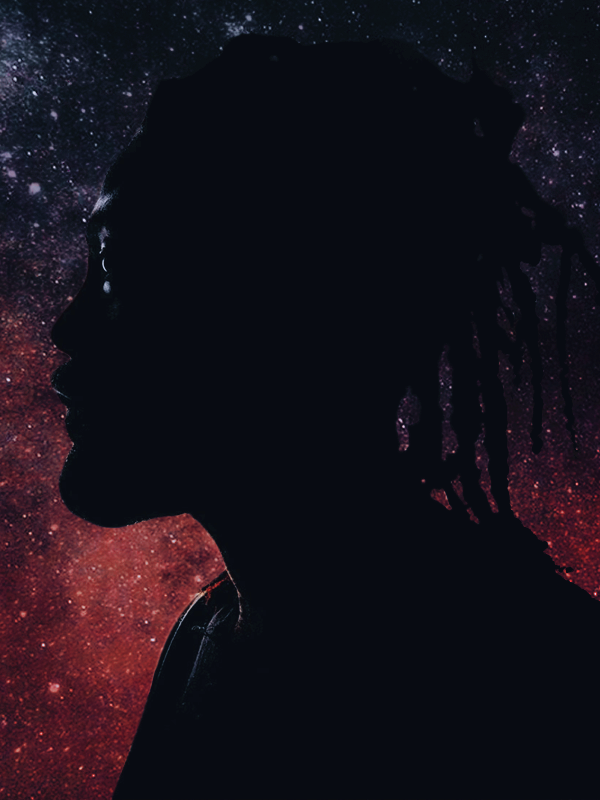
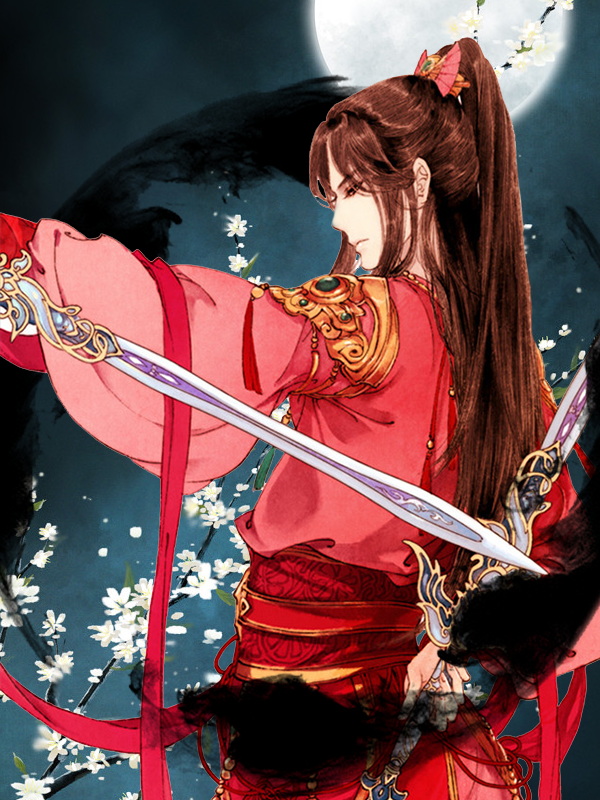
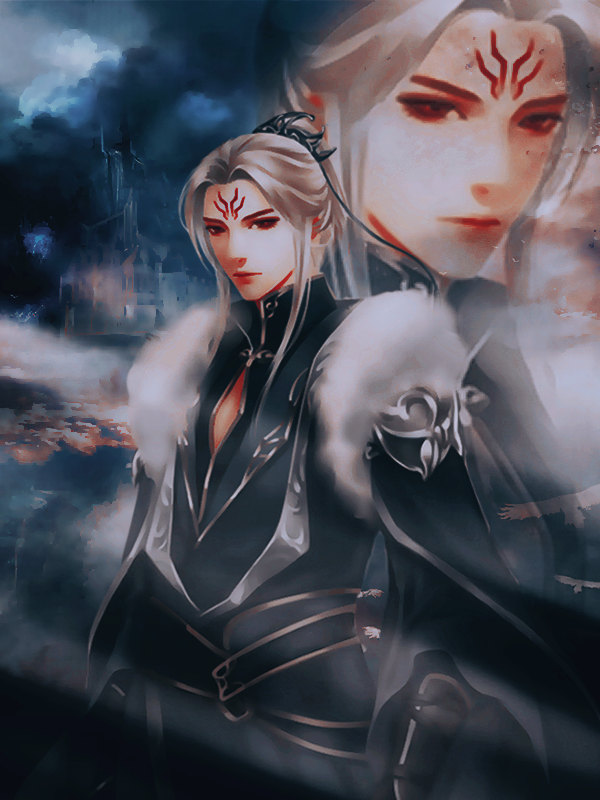
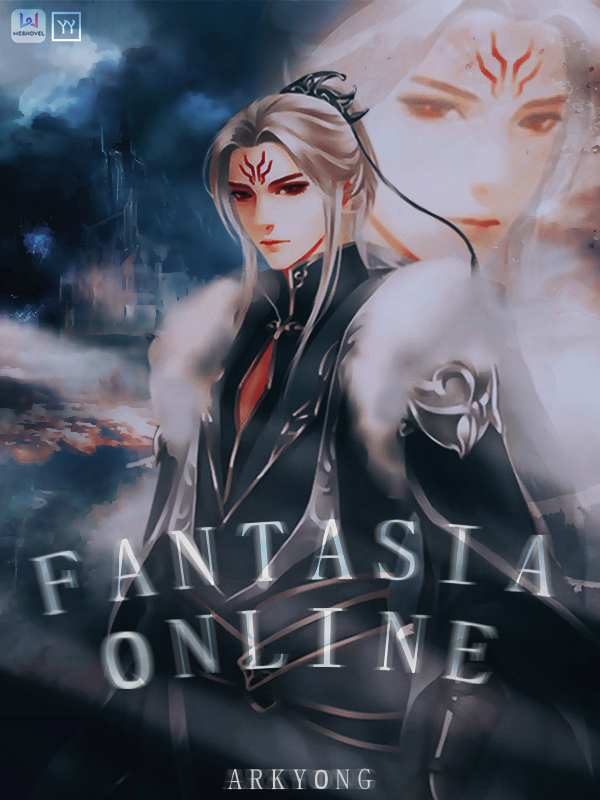
STEP 3: Apply PSDs, lighting textures, and all other textures that may want to be used. I used two PSD colorings to get the color I wanted for this-- something to make the red stand out but to also incorporate the blue, since I really love blue/red combo. As for the lighting texture, I had to do some erasing instead of directly applying it because it was getting onto the faces of the characters.
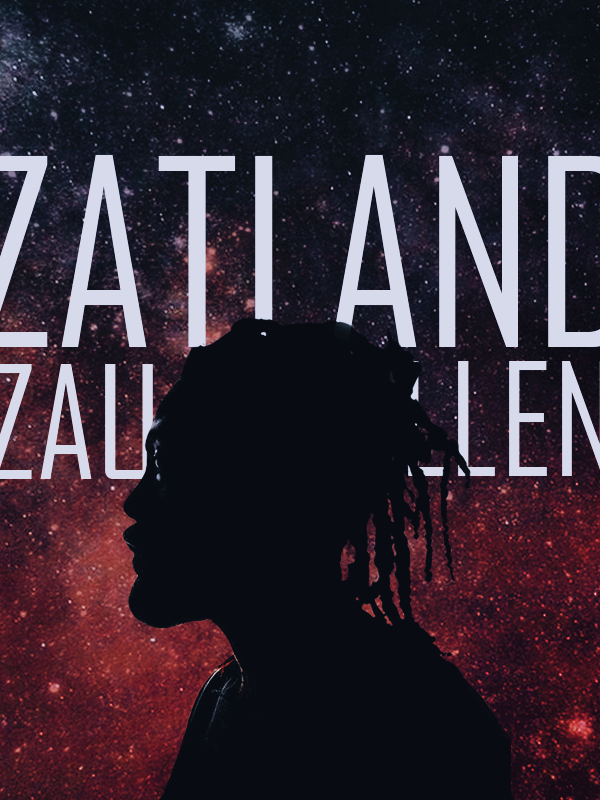
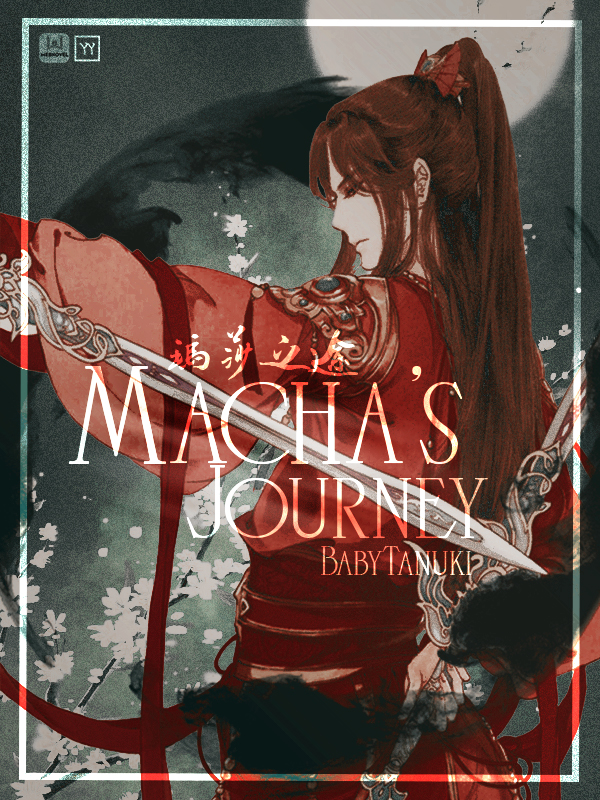
step3

STEP 4: Add text.
step4

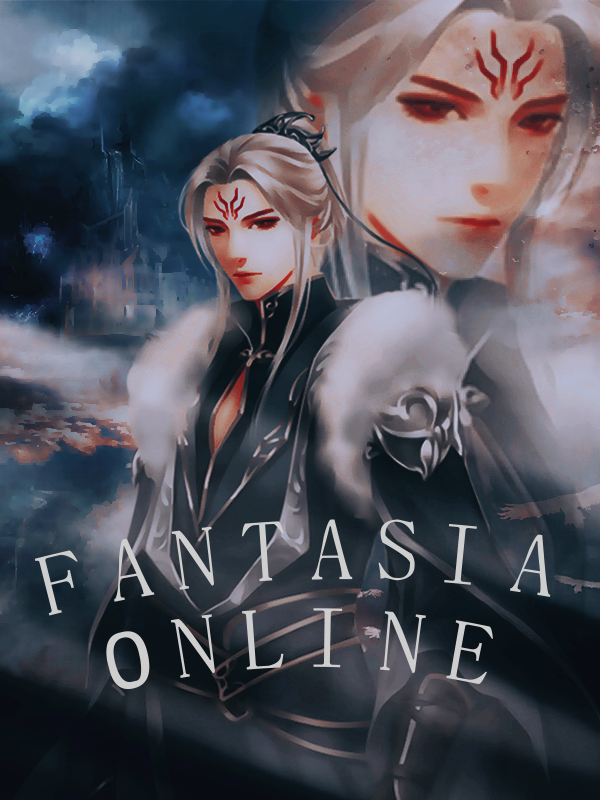
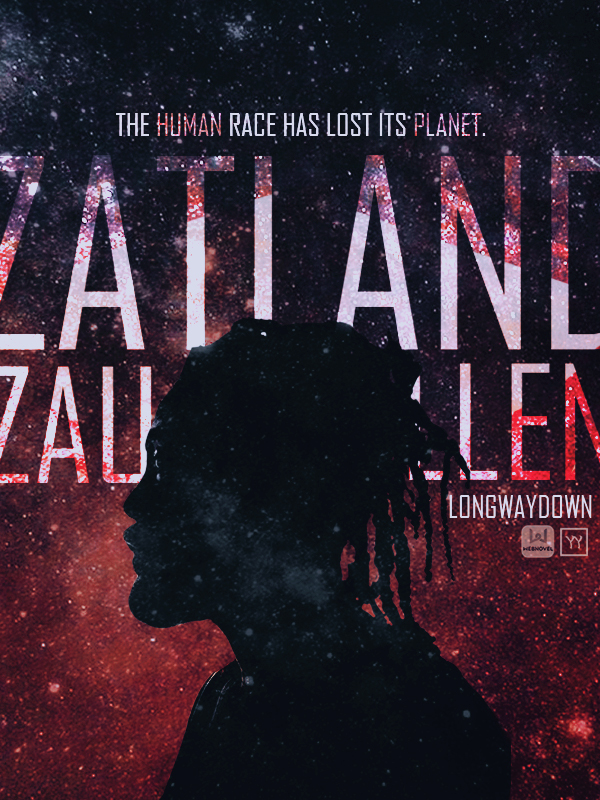
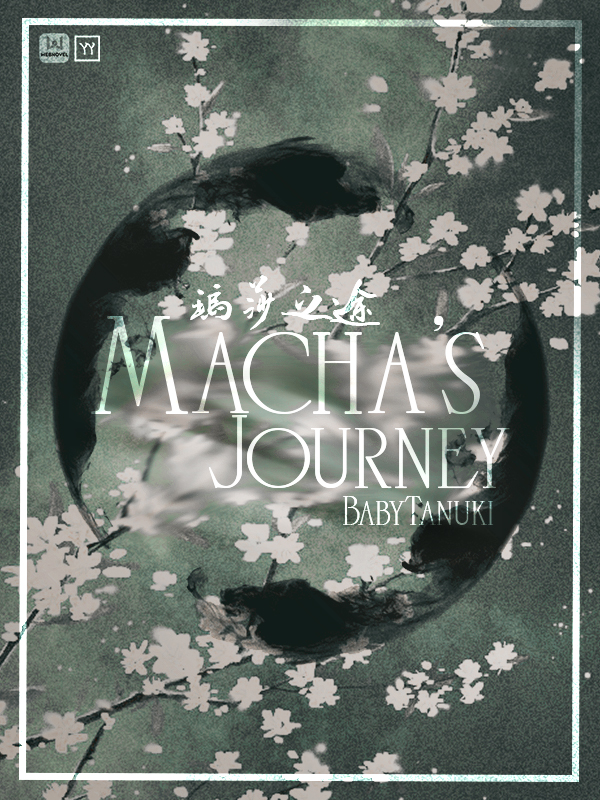
STEP 5: Finished product. I added motion blur to the text and put it on an overlay blending mode because those made the text have a nice glow while encompassing the blue.
step5


And that's how I make my posters. Time spent: around an hour.
Hope that's a good way of explaining the entire process and the fact that it's not just throwing three images together and calling it a day. There's some thought put into it.
If you actually read this tutorial to learn, feel free to ask any questions below! And if you would like more tutorials, do mention that below too so I know. :blush:

    Tutorial #2

    Sci-Fi/Futuristic Genre

    Time Spent: 1 hour
    Total amount of sprites/images used: 3


    STEP 1: Place desired images on canvas.
    step 1

    STEP 2: Erase background of person w/ the Magic Wand Tool, Quick Selection Tool, and Eraser. Be sure to use Refine Edge if you desire a smoother edge. I would suggest using Eraser for small details and the Selection Tool for larger, mostly because details just require more precision.
    step 2

    STEP 3: Apply PSD colorings. I tried adding a lighting texture to this one, but it just didn't work.
    step 3

    STEP 4: Shrunk the person's render to make way for the text. Place text layers behind the person, and be sure to space it correctly so that the text is still readable.
    step 4

    STEP 5: Duplicate layers of the text and set them on Overlay blending mode, erase part of the text that's on Normal blending mode to give way to the Overlay. I went for a long diamond pattern. Also threw in the finishing touches, like stars on the person and my logo. This is the finished product.
    step 5

    Tutorial #3

    Historical/Fantasy/Romance/Action Genre

    Time Spent: 1.5 hours
    Total amount of sprites/images used: 4


    STEP 1: Place desired images on canvas.
    step 1

    STEP 2: Erase background of person. Refer to Tutorial #2, Step 2 for exact explanations of how to do so/with what tools. Also split ink circle in half, duplicating the bottom half and moving the layer above that of the person so that it creates a more 3D effect.
    step 2

    STEP 3: Apply PSD colorings. I used 2 this time to create a dull but vibrant color tone. Also used Film Grain in Filter Gallery to apply a dusty/old effect.
    step 3

    STEP 4: Finish off w/ text. I set text on Overlay again to give a colored glow effect. Add in a border with the Rectangle Tool as well, similarly setting it onto Overlay for the blending mode. You may need to duplicate the text layers multiple times so that the Overlay doesn't fade into the background.
    step 4

    BONUS STEP: To create an alternate version, delete the layer with the person on and arrange everything else to create a visually appealing effect. Blur BG with the Smudge tool to make the text stand out more.
    bonus

    7 days later

    Estatica I think it would be fine, as long as you're not using it for commercial purposes.

      How to crop the image and make it as background? which tools from PhotoShop CS3 should I use?
      MY PS version is older :(

        SweetsTomato I'm not familiar with CS3, but does it have layers? If it has layers, you would move the background to the layer on the very bottom. To crop, as long a your canvas is the right size, since it's just the background layer, try using CTRL+T to select the layer and resize/scale it to your liking!

        Hope that helps!

        Web Novel Novel Ask