
TheAdventurer unsplash is definitely my go to, but if you understand Chinese, I would suggest poco, huaban, and duitang.
Novel Cover Tutorial/Process
- Edited

I am famous 
Hope its not me the one you talking about, because i was sleeping when you upload mine....


Thanks for this post. This community of fantasy writer present you a heartfelt gratitude
Broughtwaorld2 no problem. :smile:
Tutorial #2
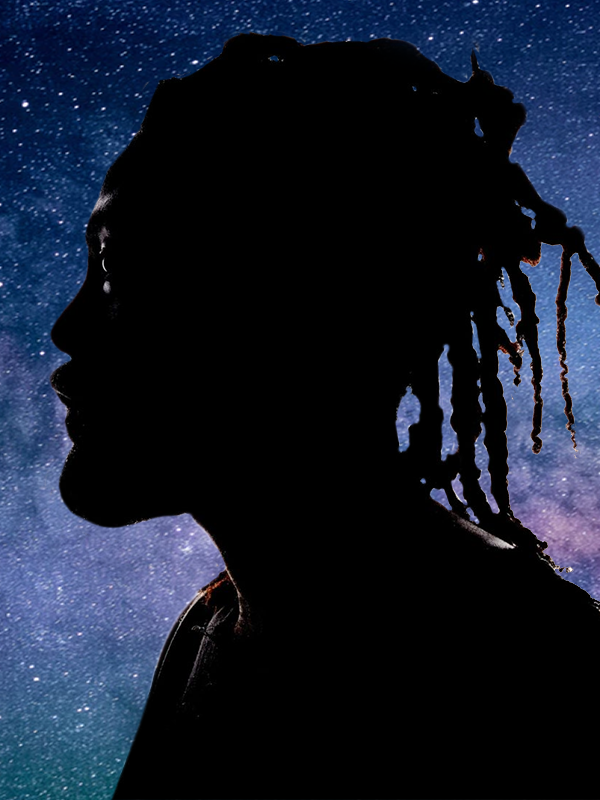
Sci-Fi/Futuristic Genre
Time Spent: 1 hour
Total amount of sprites/images used: 3
STEP 1: Place desired images on canvas.

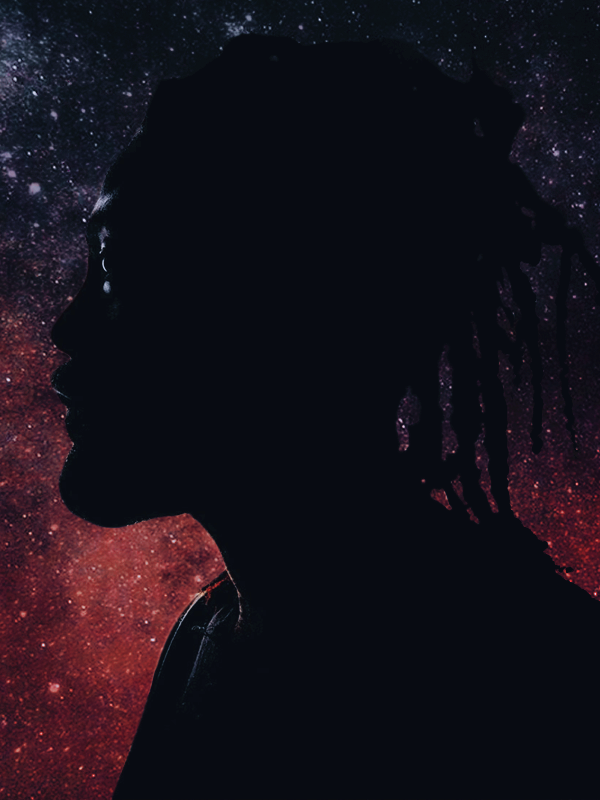
STEP 2: Erase background of person w/ the Magic Wand Tool, Quick Selection Tool, and Eraser. Be sure to use Refine Edge if you desire a smoother edge. I would suggest using Eraser for small details and the Selection Tool for larger, mostly because details just require more precision.
STEP 3: Apply PSD colorings. I tried adding a lighting texture to this one, but it just didn't work.
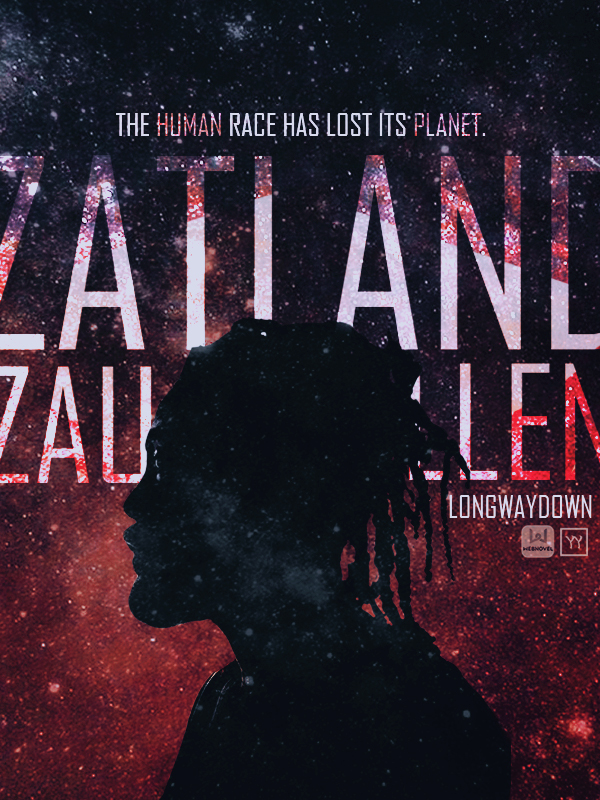
STEP 4: Shrunk the person's render to make way for the text. Place text layers behind the person, and be sure to space it correctly so that the text is still readable.

STEP 5: Duplicate layers of the text and set them on Overlay blending mode, erase part of the text that's on Normal blending mode to give way to the Overlay. I went for a long diamond pattern. Also threw in the finishing touches, like stars on the person and my logo. This is the finished product.
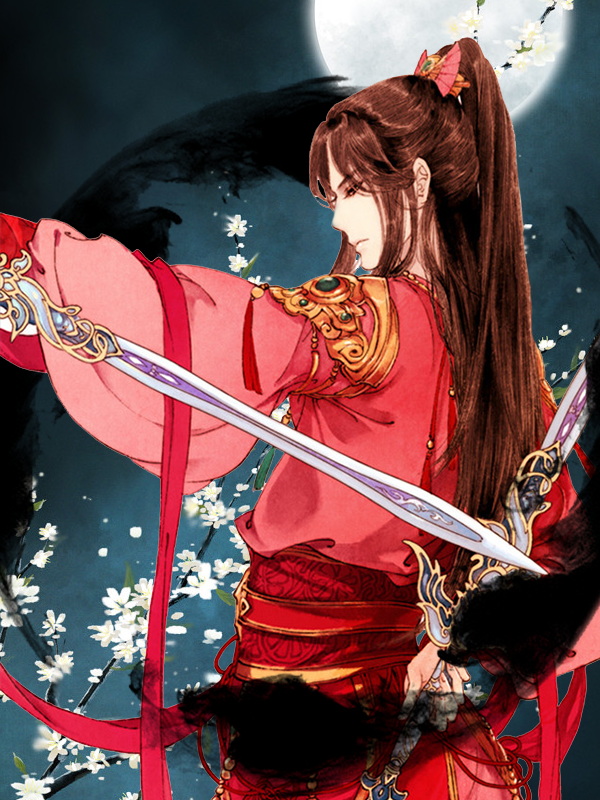
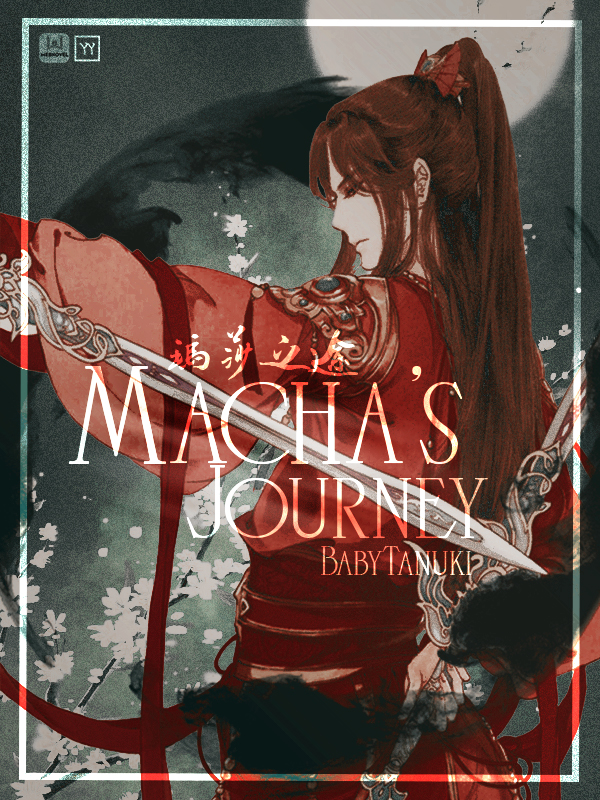
Tutorial #3
Historical/Fantasy/Romance/Action Genre
Time Spent: 1.5 hours
Total amount of sprites/images used: 4
STEP 1: Place desired images on canvas.
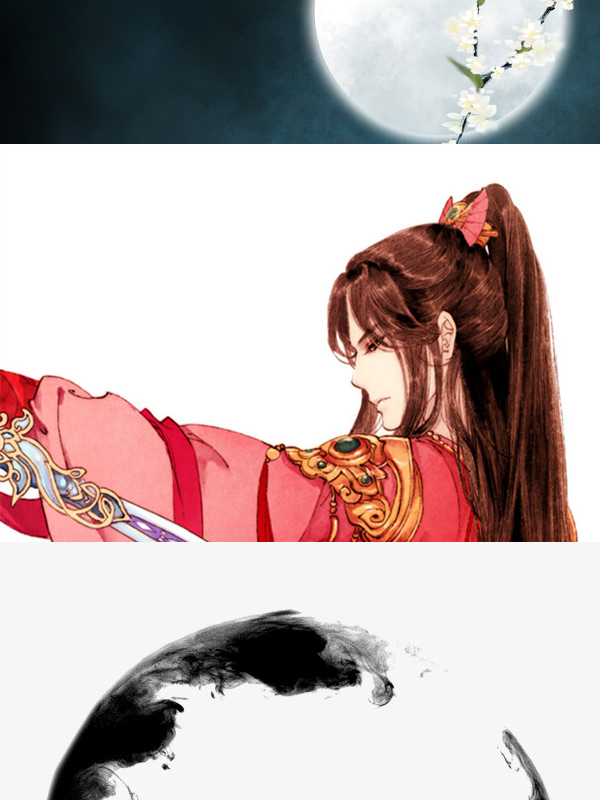
STEP 2: Erase background of person. Refer to Tutorial #2, Step 2 for exact explanations of how to do so/with what tools. Also split ink circle in half, duplicating the bottom half and moving the layer above that of the person so that it creates a more 3D effect.
STEP 3: Apply PSD colorings. I used 2 this time to create a dull but vibrant color tone. Also used Film Grain in Filter Gallery to apply a dusty/old effect.

STEP 4: Finish off w/ text. I set text on Overlay again to give a colored glow effect. Add in a border with the Rectangle Tool as well, similarly setting it onto Overlay for the blending mode. You may need to duplicate the text layers multiple times so that the Overlay doesn't fade into the background.
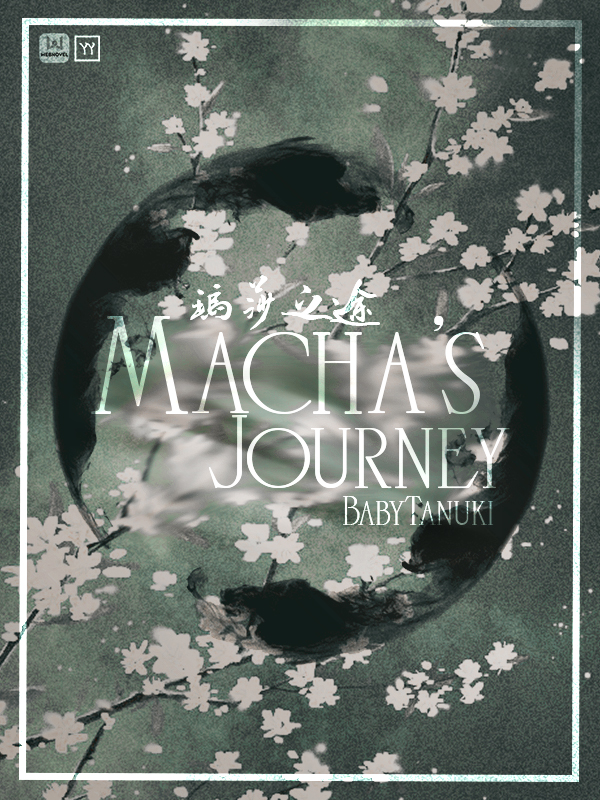
BONUS STEP: To create an alternate version, delete the layer with the person on and arrange everything else to create a visually appealing effect. Blur BG with the Smudge tool to make the text stand out more.

I can see you are constantly improving. Soon you will be ready to paint this deity's visage.


- Edited

How to crop the image and make it as background? which tools from PhotoShop CS3 should I use?
MY PS version is older :(
SweetsTomato I'm not familiar with CS3, but does it have layers? If it has layers, you would move the background to the layer on the very bottom. To crop, as long a your canvas is the right size, since it's just the background layer, try using CTRL+T to select the layer and resize/scale it to your liking!
Hope that helps!

TITLE: True Love: Two Souls, One Heart Only
AUTHOR NAME/USERNAME: Cutebunnyxi
SUBTITLE:True love underneath the two souls, one heart only
GENRE:Romance Fiction
SYNOPSIS Two girls whose almost similar but different like the sun and the moon, one had brunette long hair with a fair complexion, hazel eyed and has a slight evil aura, the other girl has long curly hair just right up to her shoulder, fair skinned and has an innocent pure aura... They will fall in love with one man, their fate are connected to each other.
Read and follow Cutebunnyxi
Cutebunnyxi I'm not taking requests.
- Edited

yaoyueyi At least they are still "quite better" than SoMe UnGrAtEfUl PeOpLe