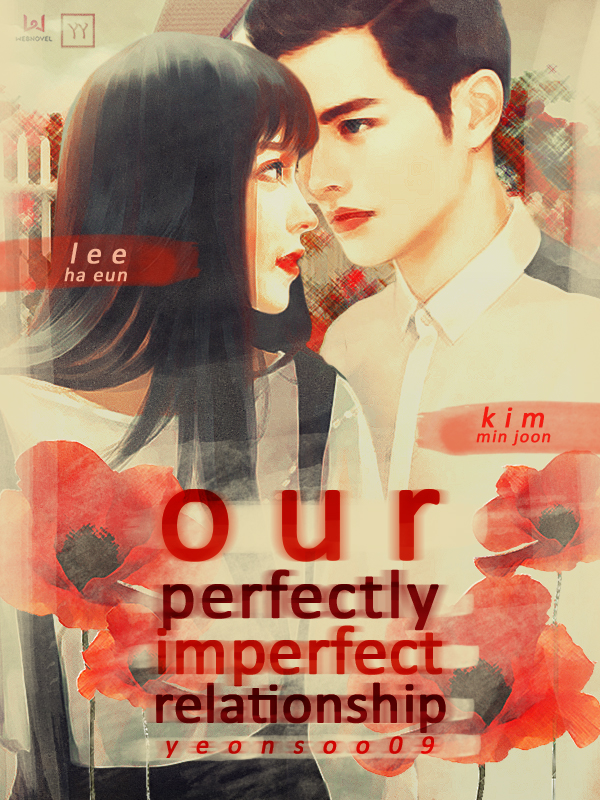
- Edited
[deleted my bitter rant that existed her a few millennia ago, damn i was a bitter & angry kid]
Alright, end of mini-rant. I'm just a little frustrated with some people in this community. Let's get the tutorial started.
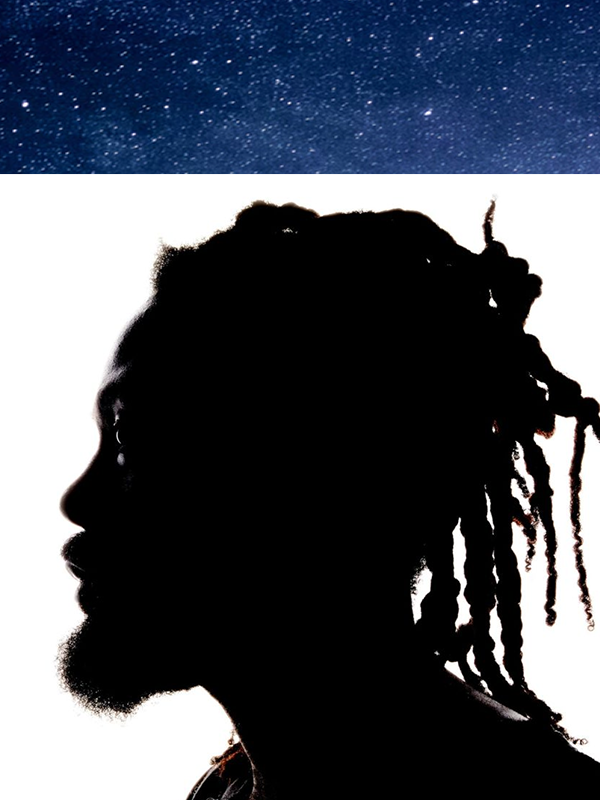
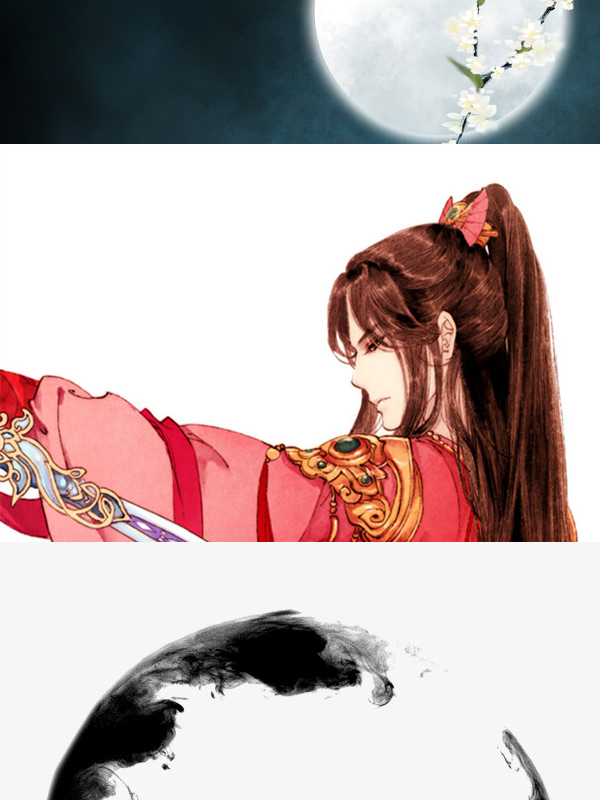
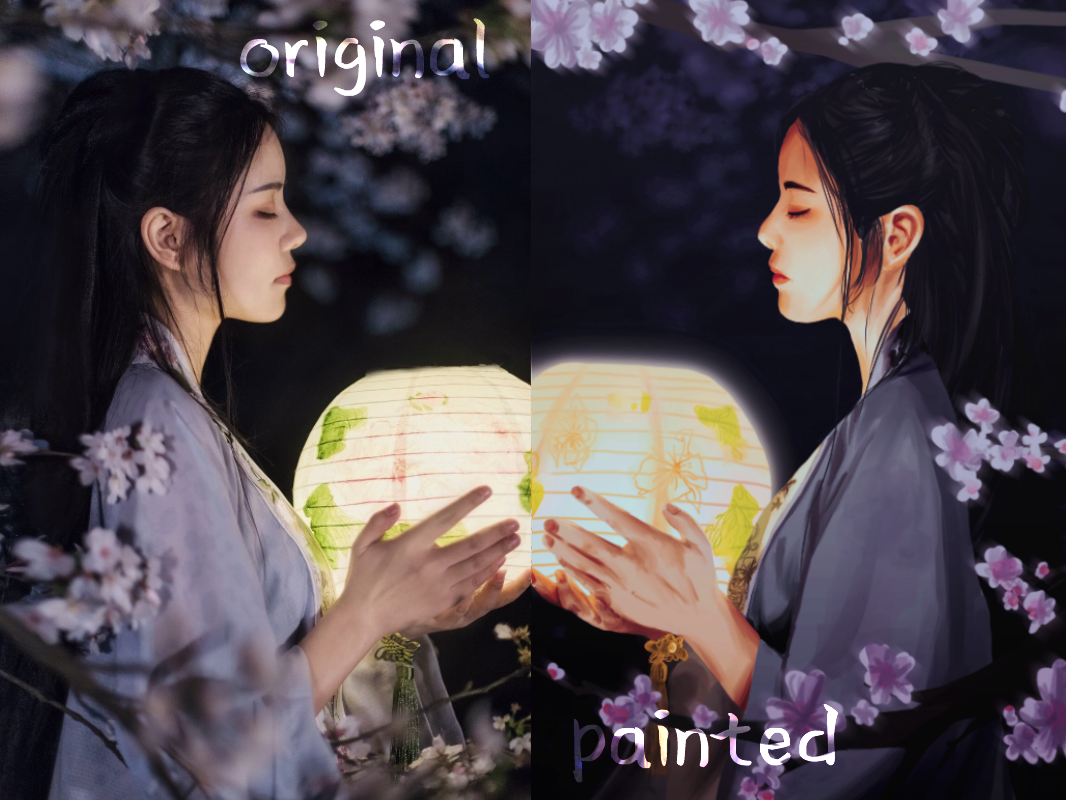
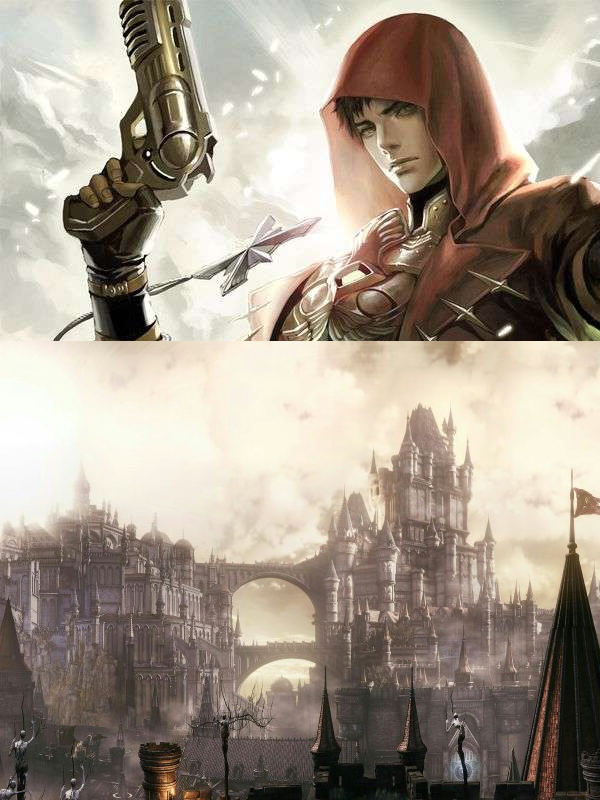
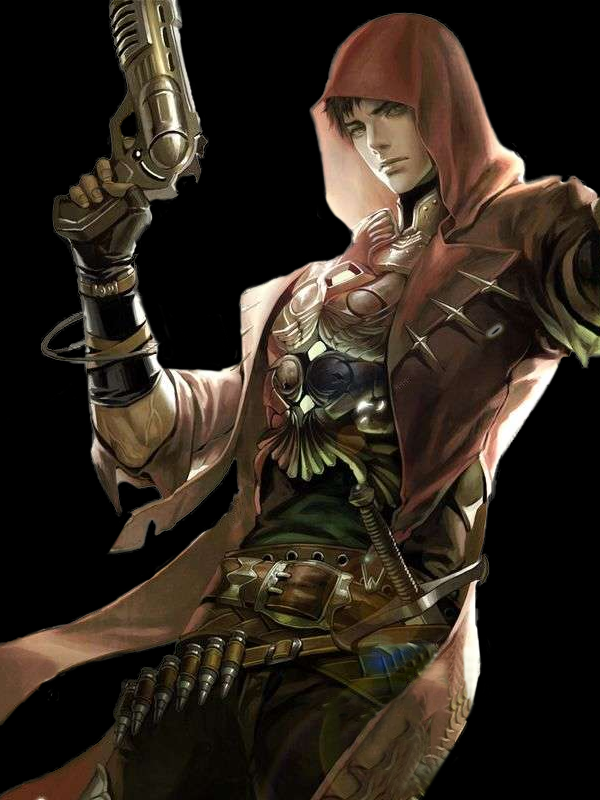
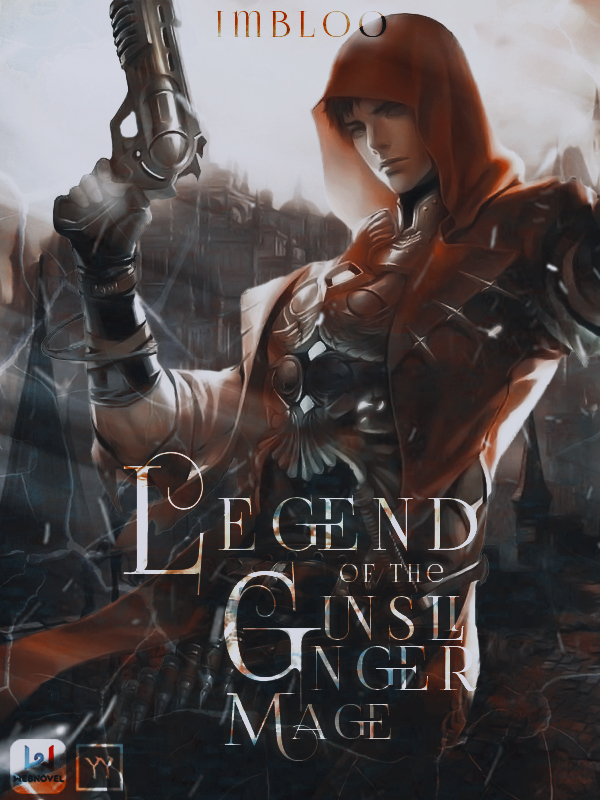
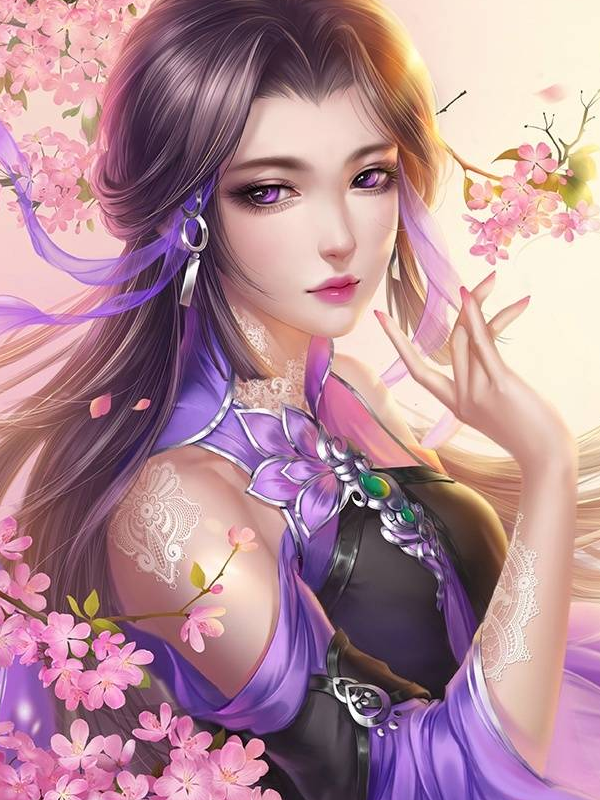
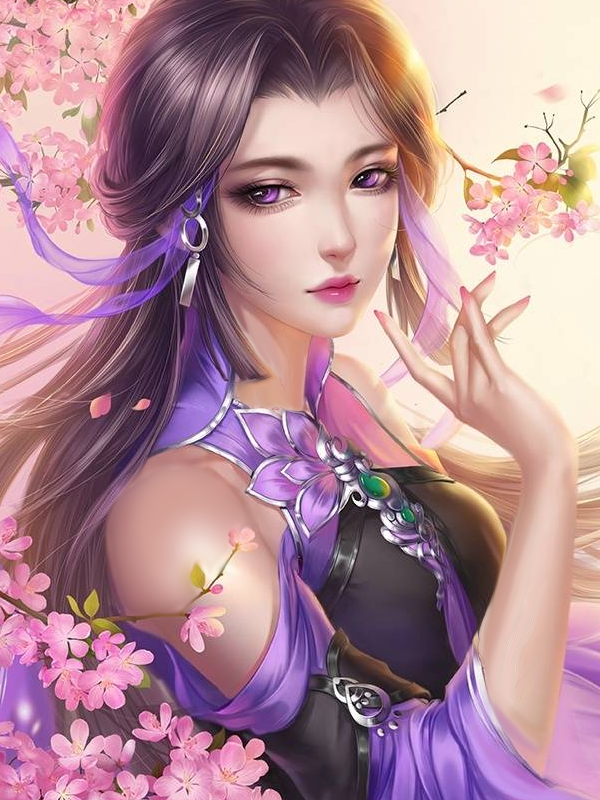
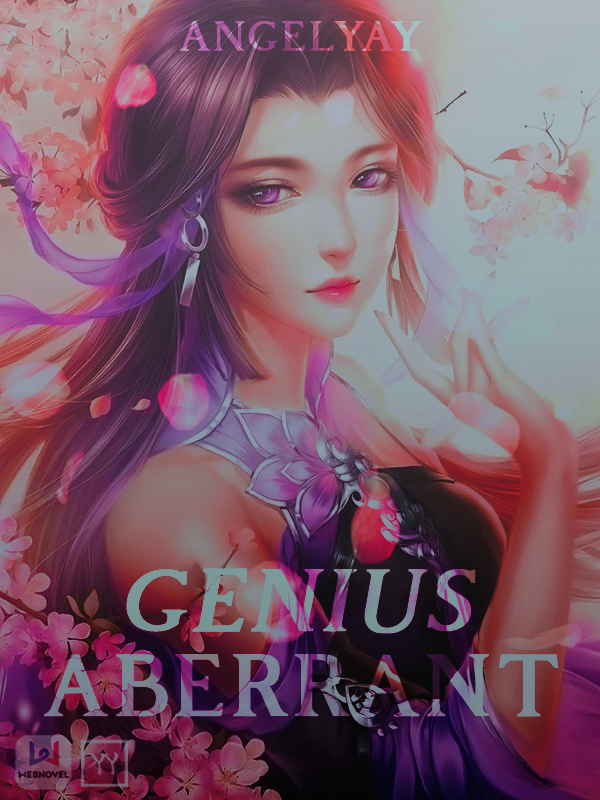
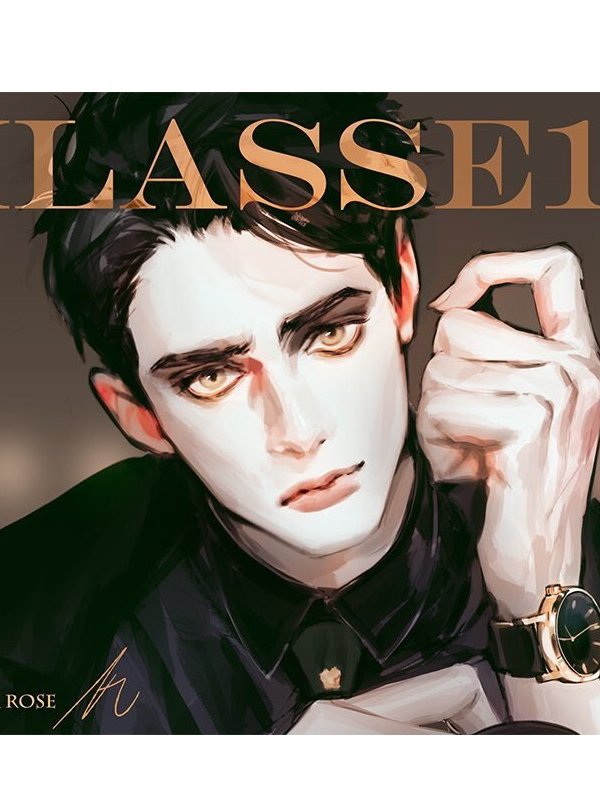
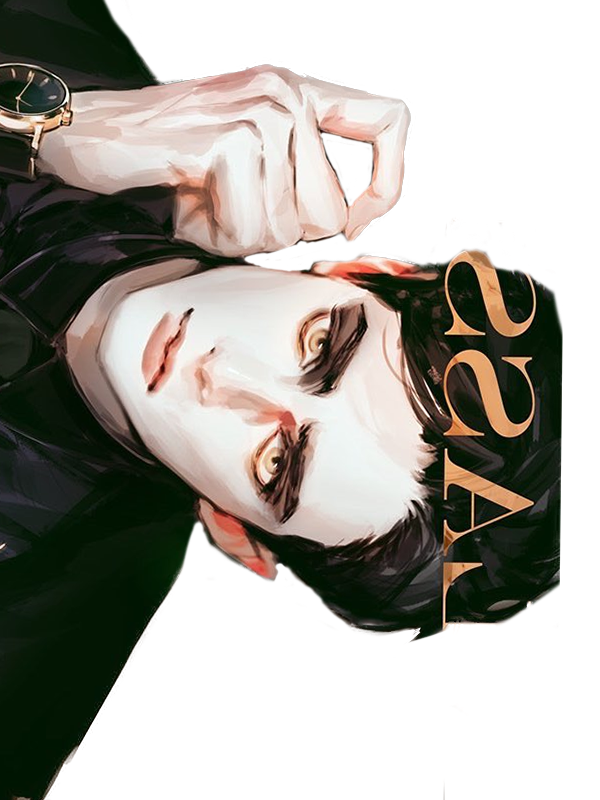
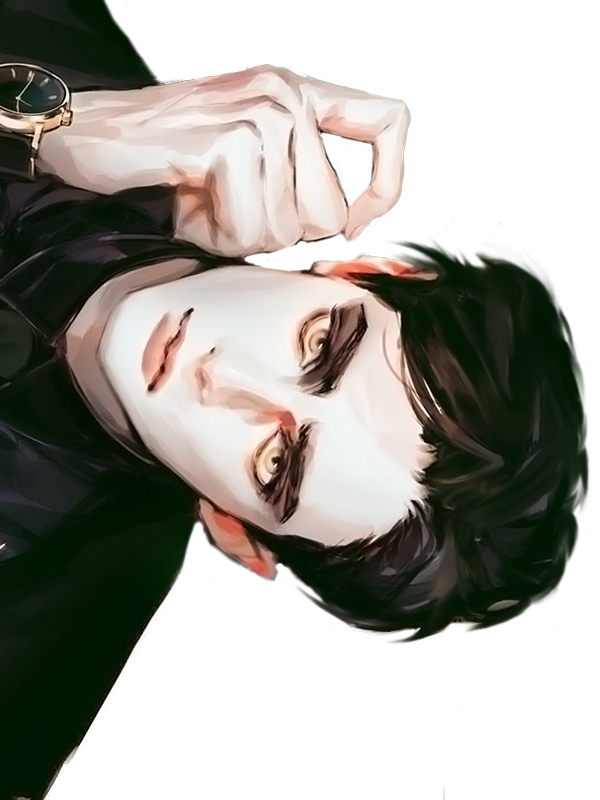
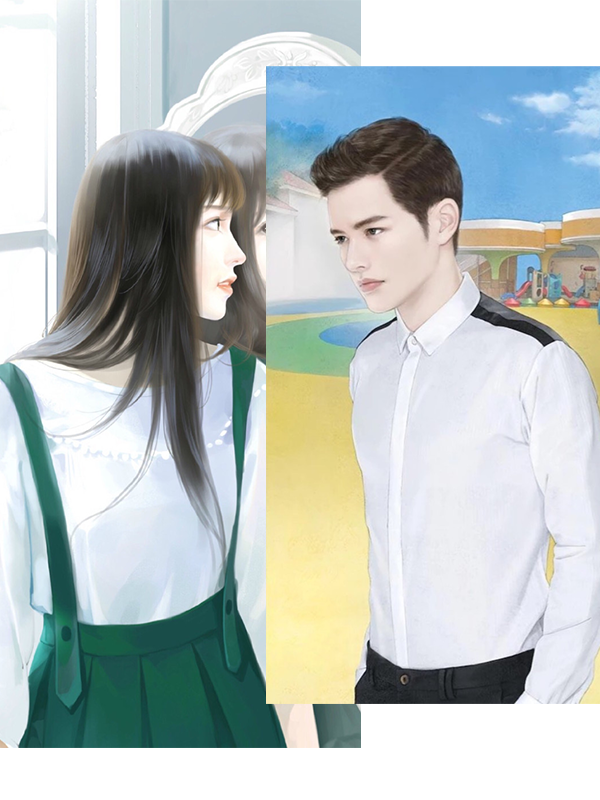
STEP 1: Get your images that you want to use and move them on the canvas. Note that I do use Photoshop CS6; it's my preferred program.
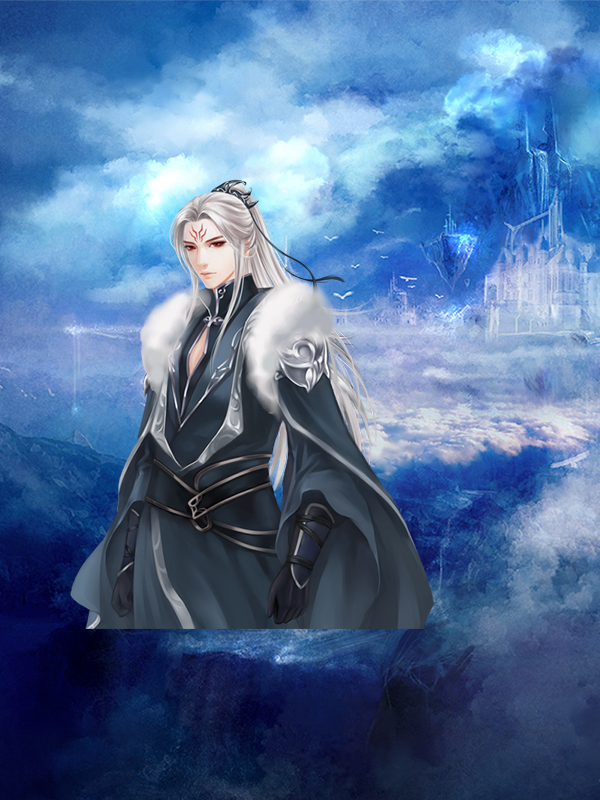
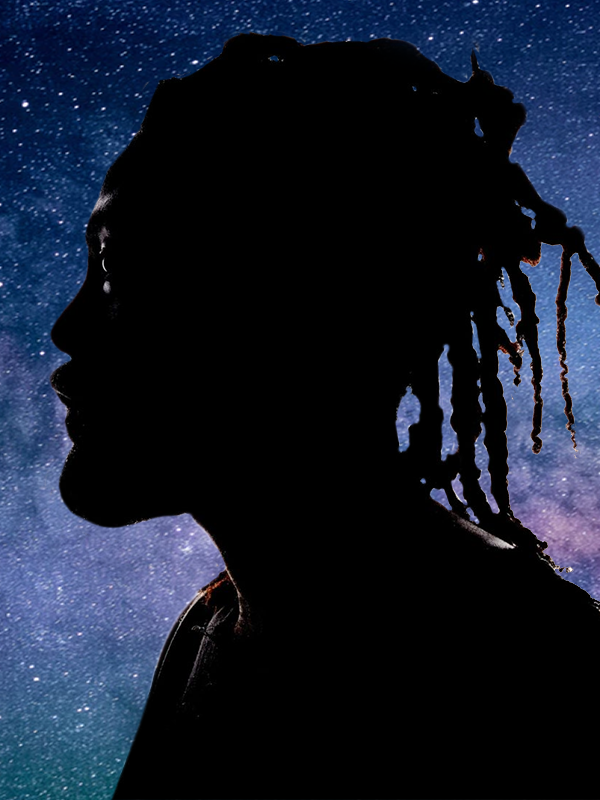
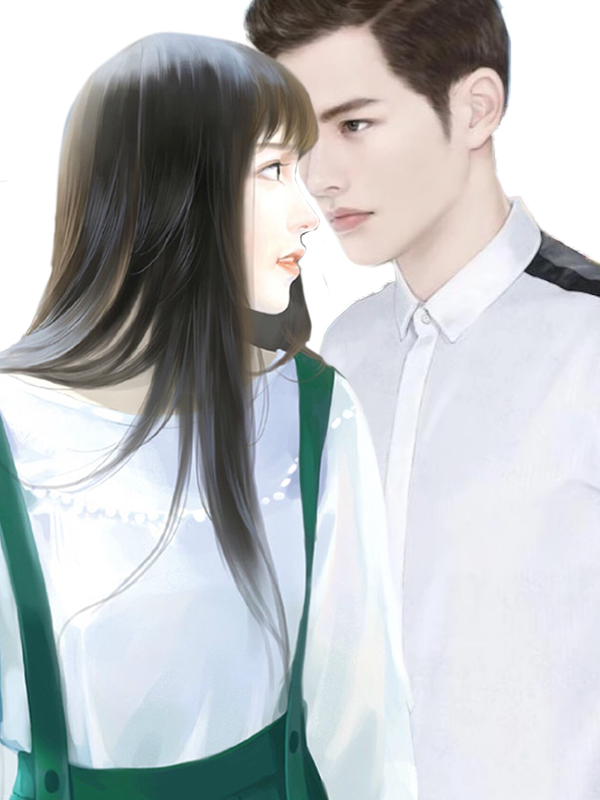
STEP 2: Move the images around until you get a satisfying composition. I also used a few filters/smart blurs to raise the quality of the images themself.
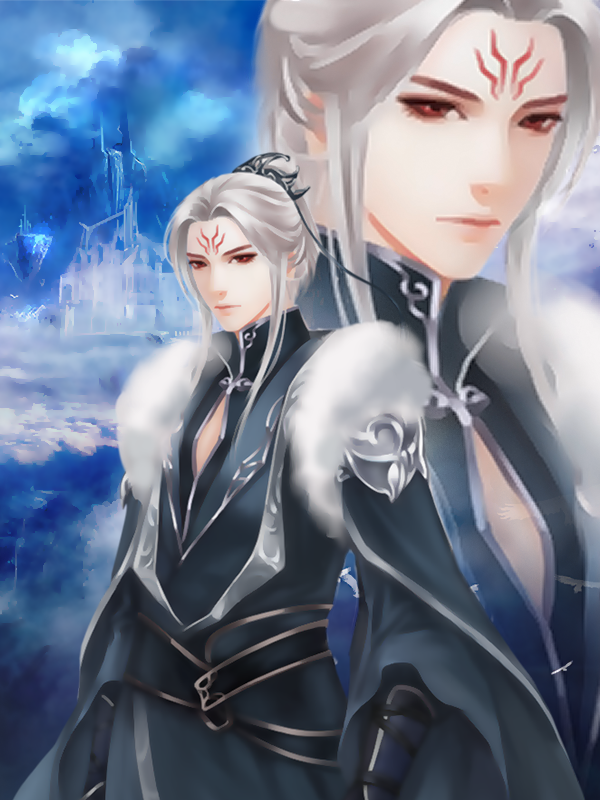
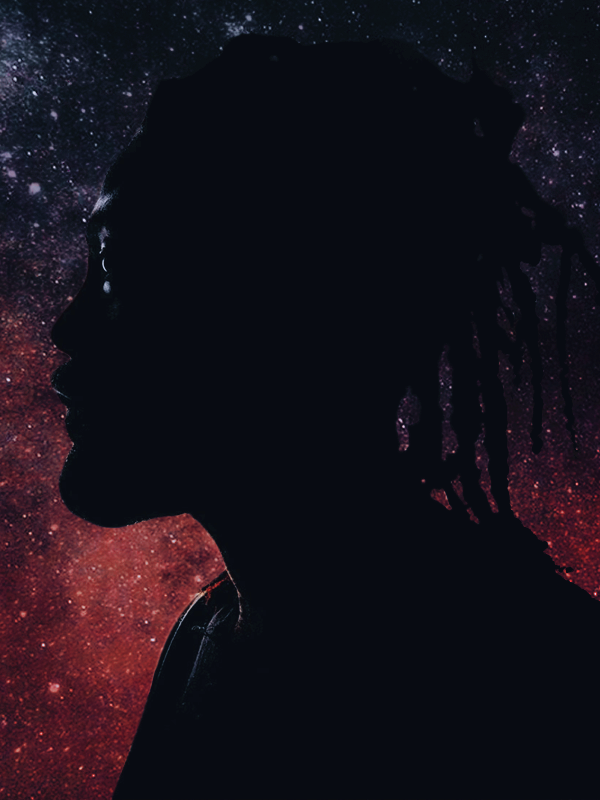
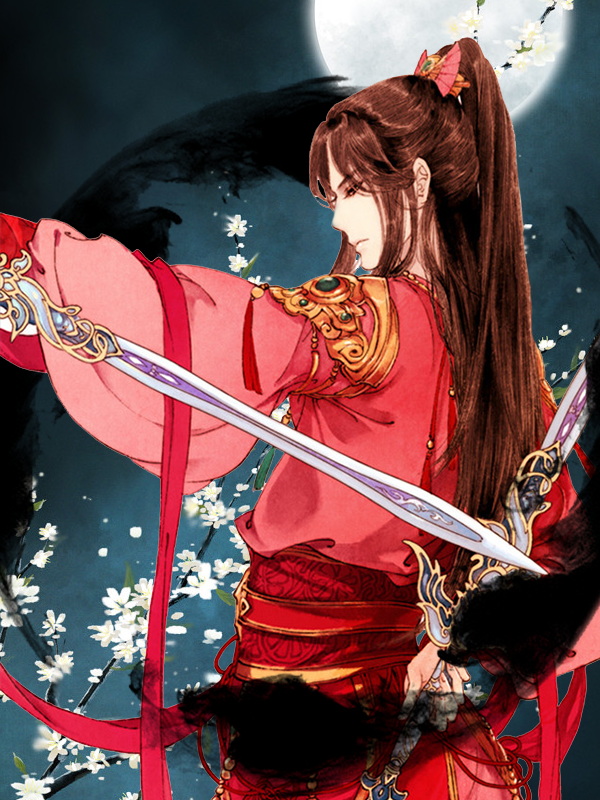
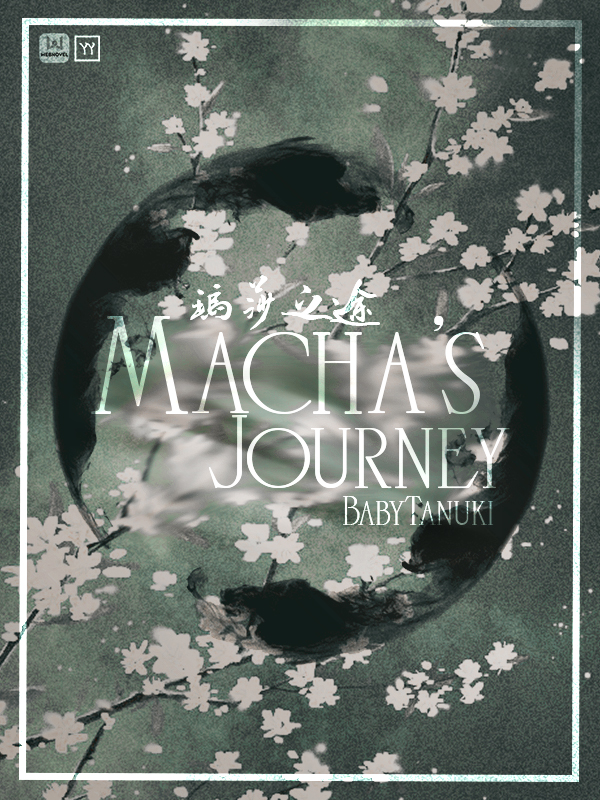
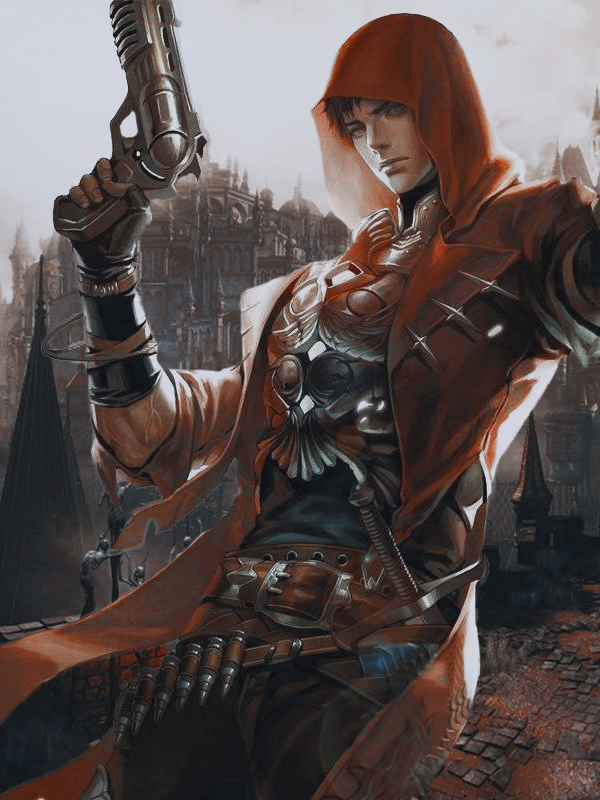
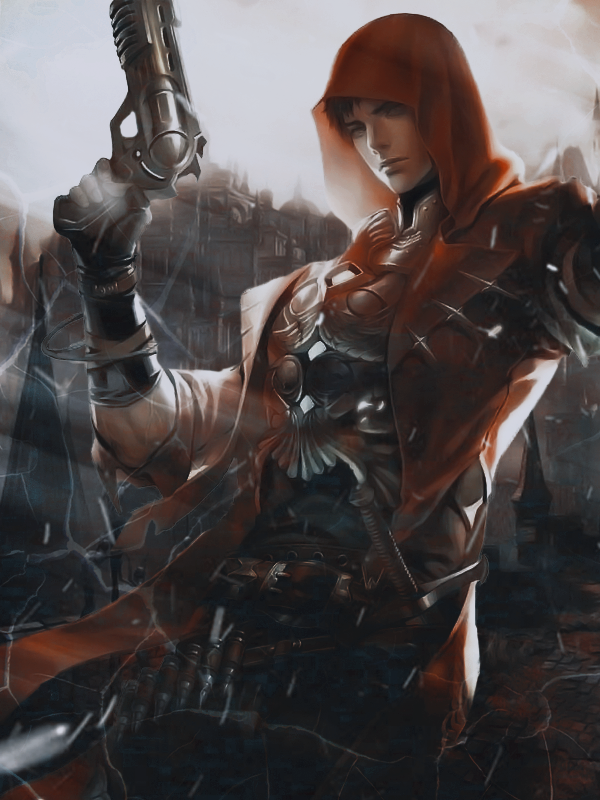
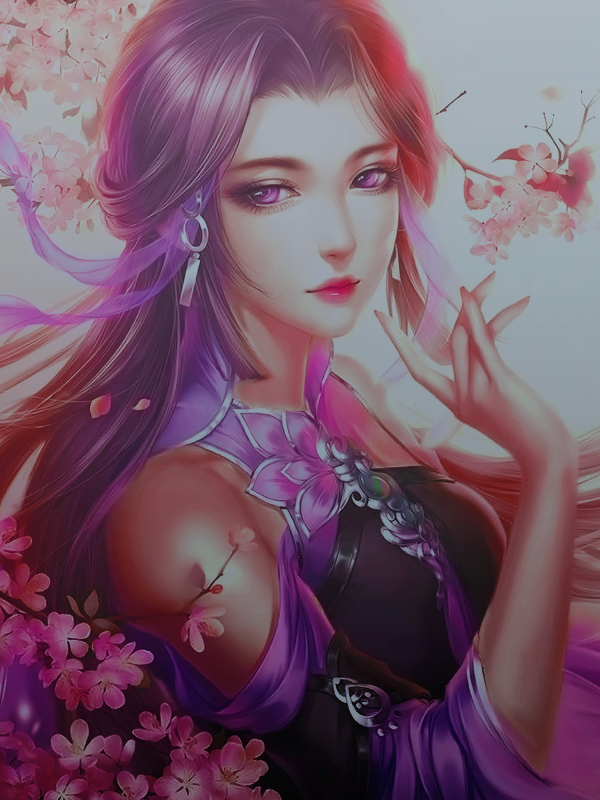
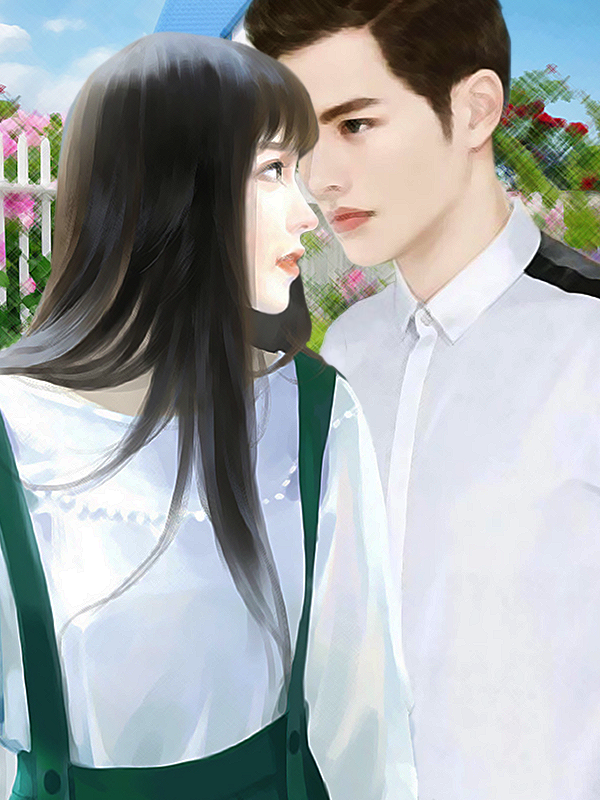
STEP 3: Apply PSDs, lighting textures, and all other textures that may want to be used. I used two PSD colorings to get the color I wanted for this-- something to make the red stand out but to also incorporate the blue, since I really love blue/red combo. As for the lighting texture, I had to do some erasing instead of directly applying it because it was getting onto the faces of the characters.
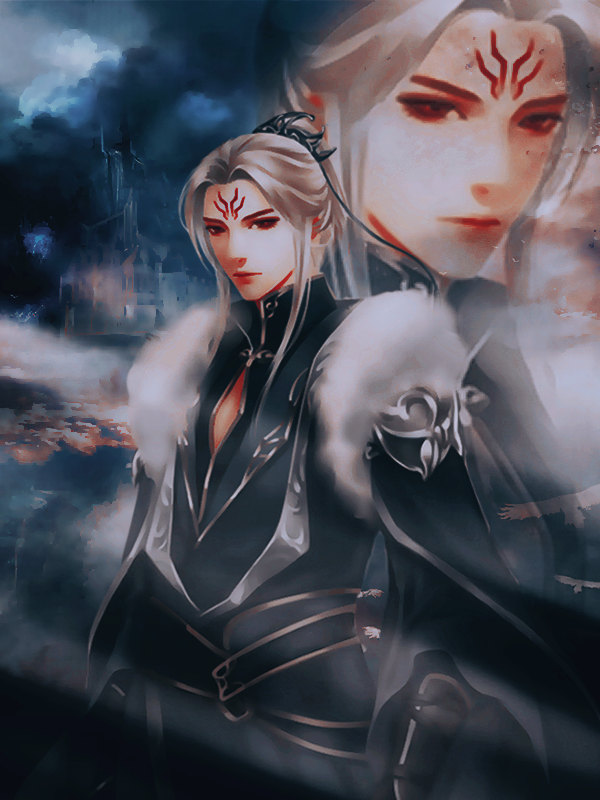
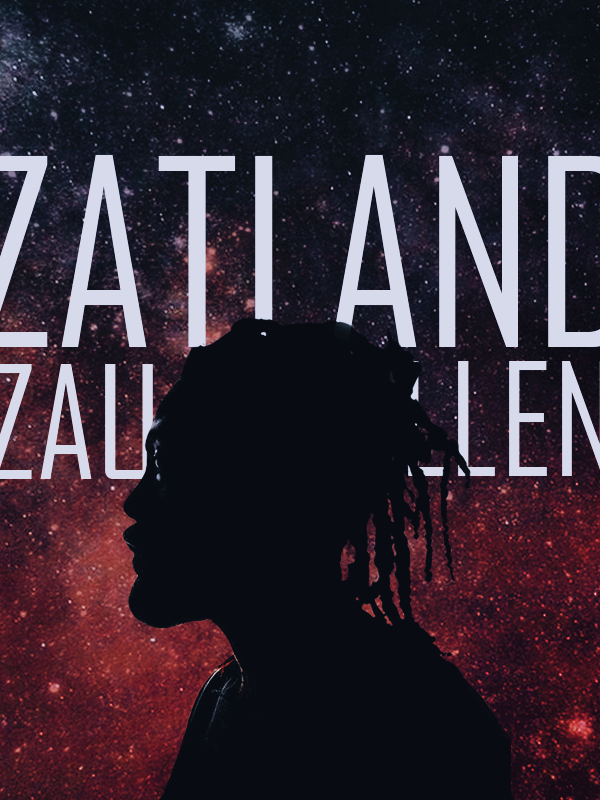
STEP 4: Add text.
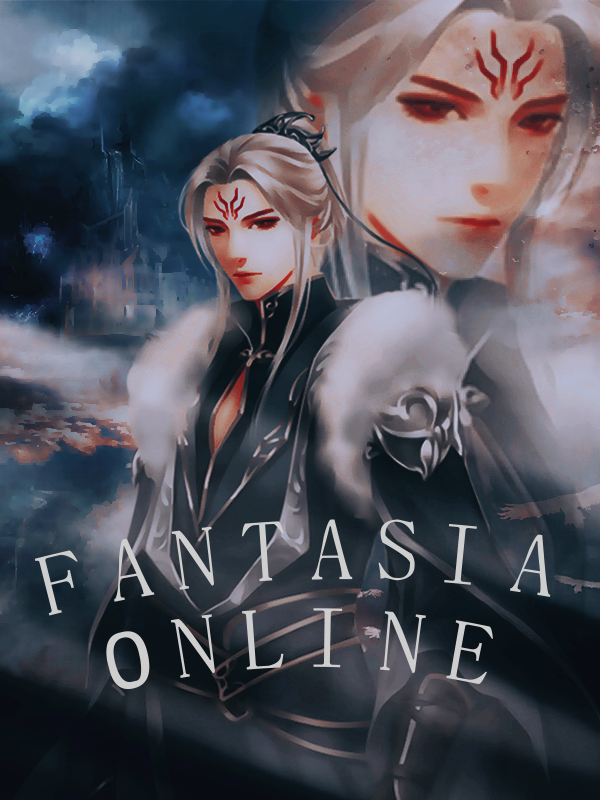
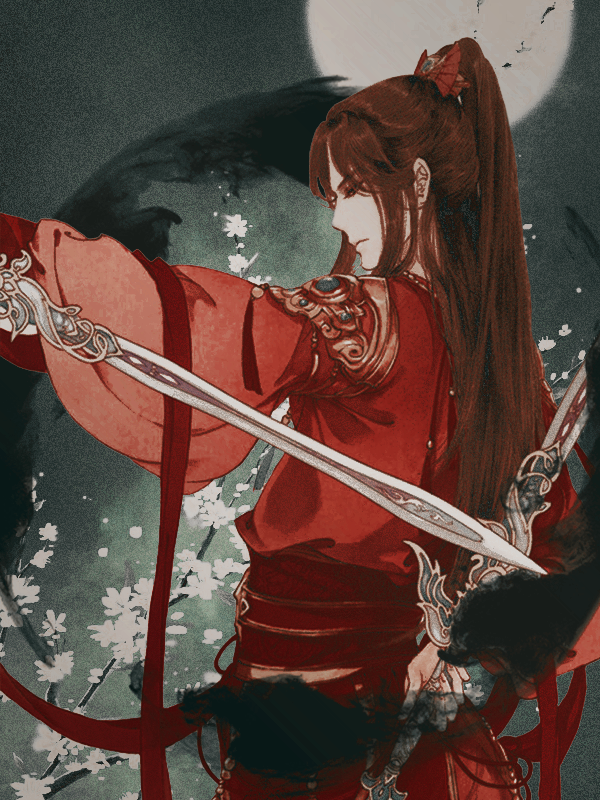
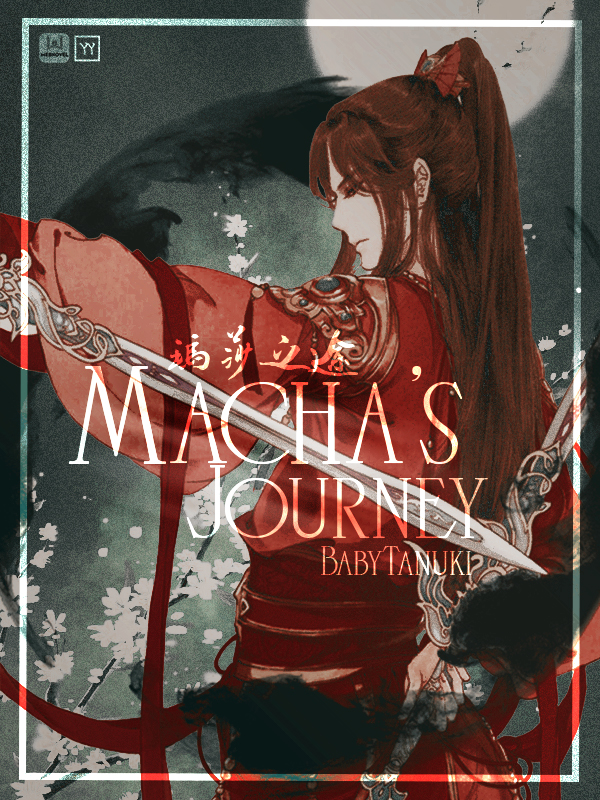
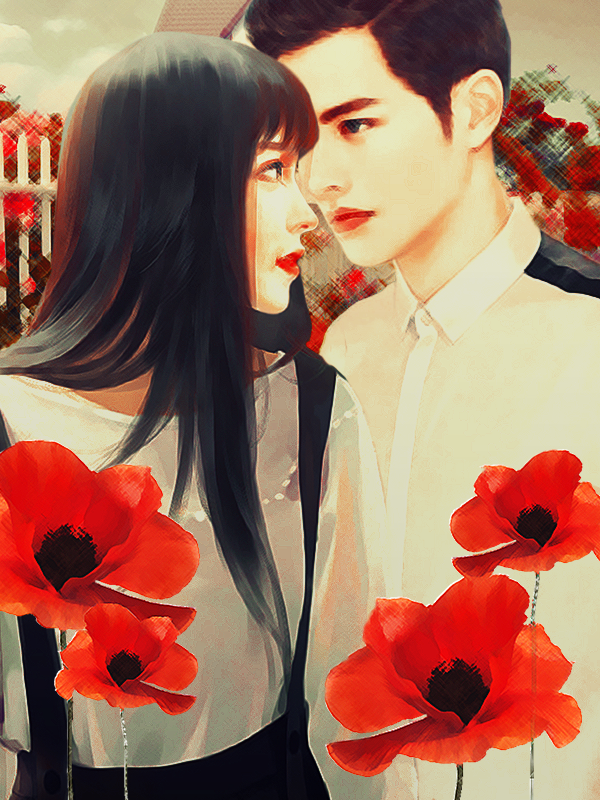
STEP 5: Finished product. I added motion blur to the text and put it on an overlay blending mode because those made the text have a nice glow while encompassing the blue.
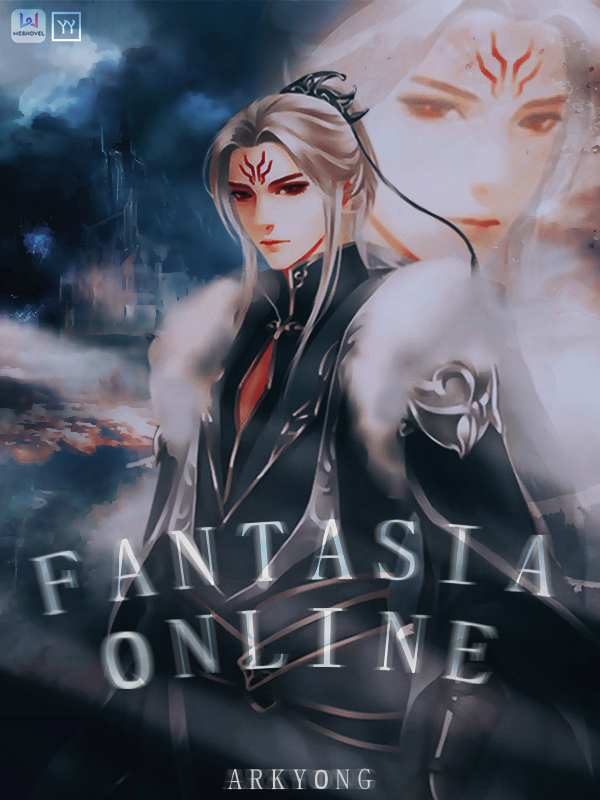
And that's how I make my posters. Time spent: around an hour.
Hope that's a good way of explaining the entire process and the fact that it's not just throwing three images together and calling it a day. There's some thought put into it.
If you actually read this tutorial to learn, feel free to ask any questions below! And if you would like more tutorials, do mention that below too so I know. :blush:


