Tutorial #3
Historical/Fantasy/Romance/Action Genre
Time Spent: 1.5 hours
Total amount of sprites/images used: 4
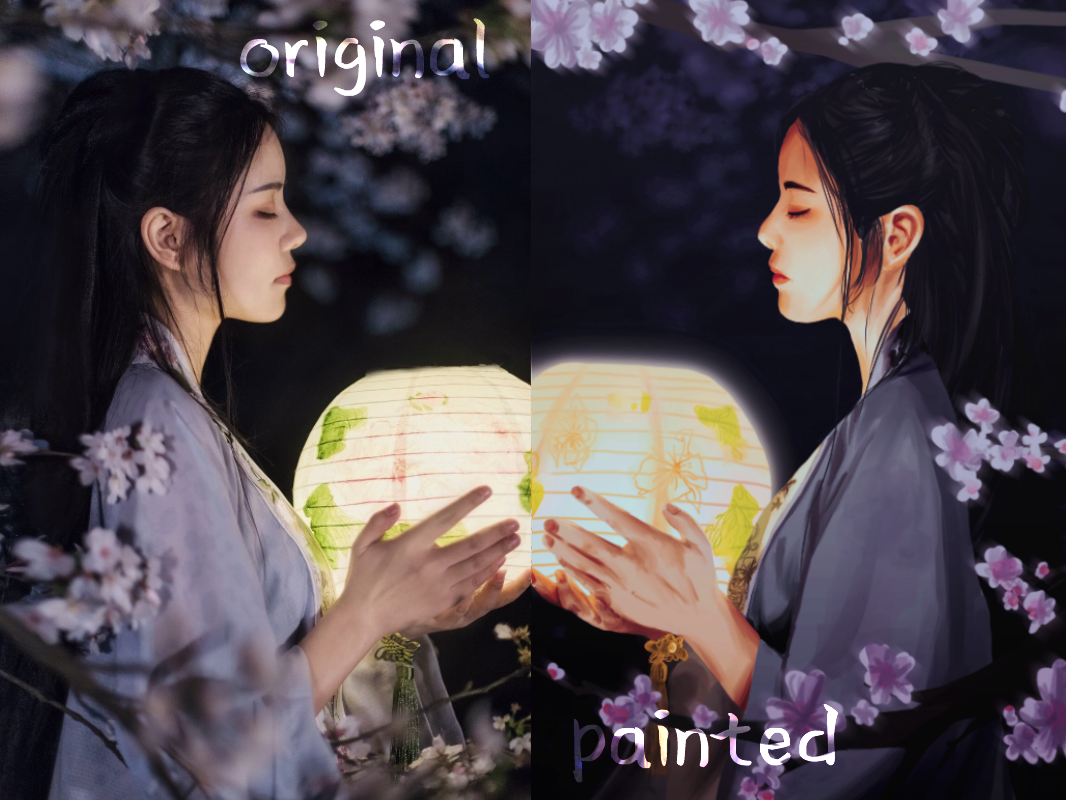
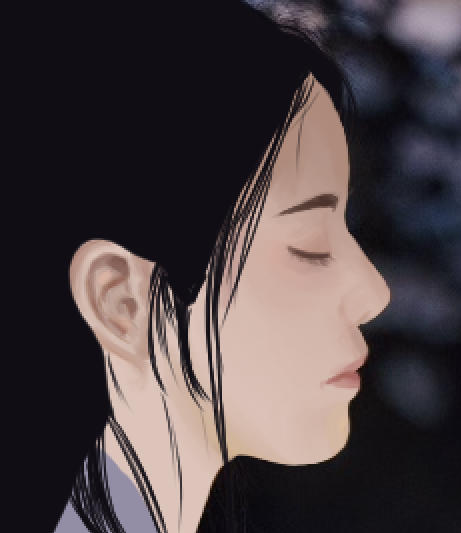
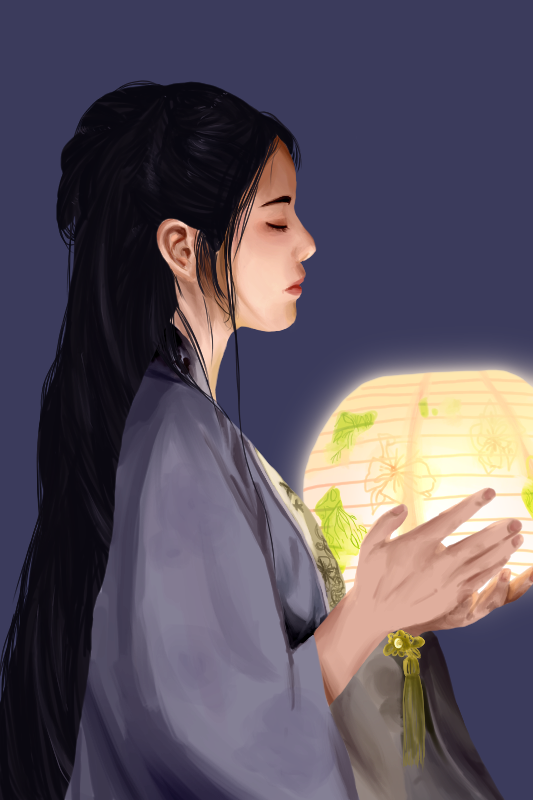
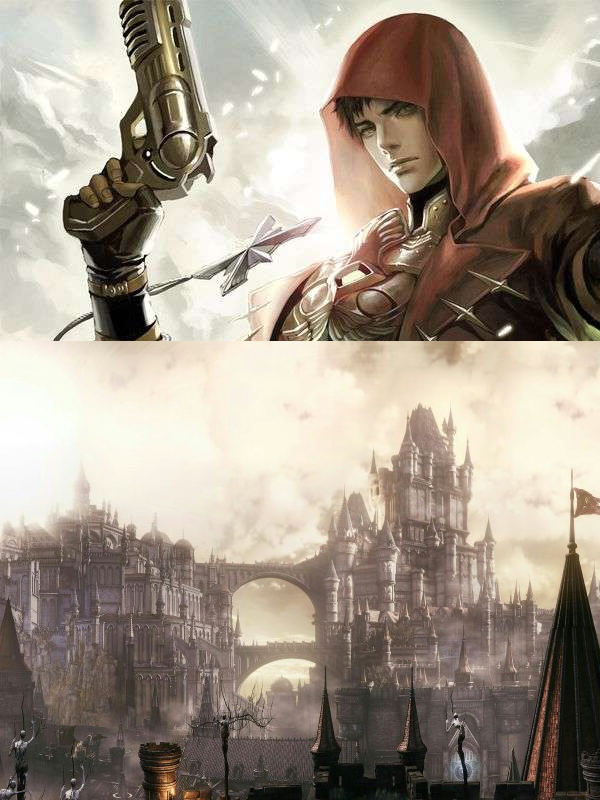
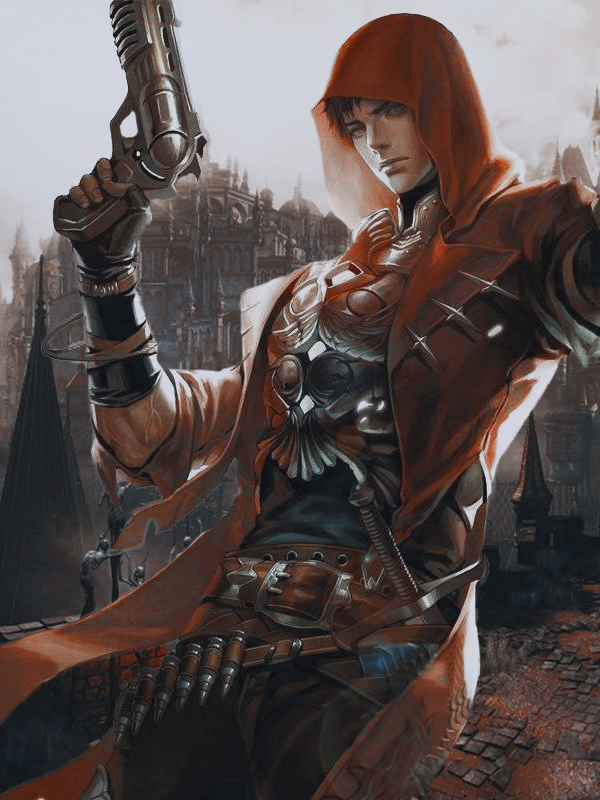
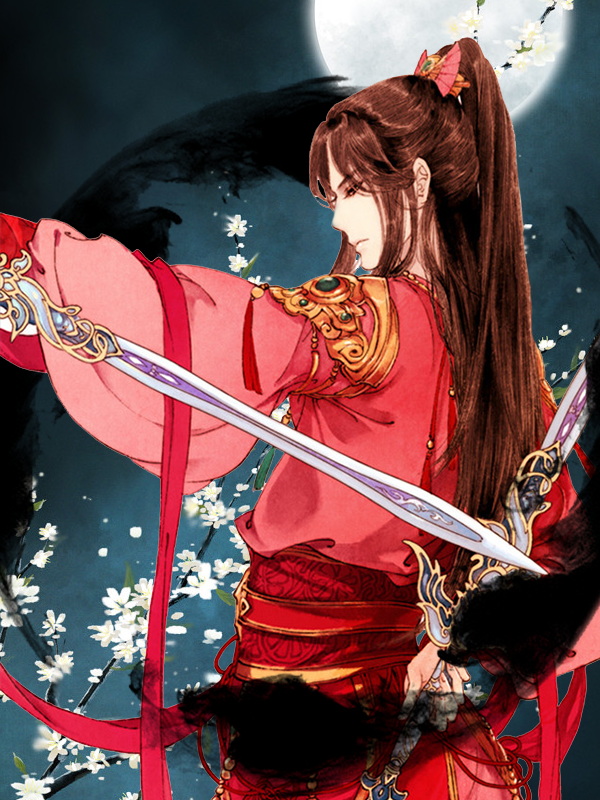
STEP 1: Place desired images on canvas.
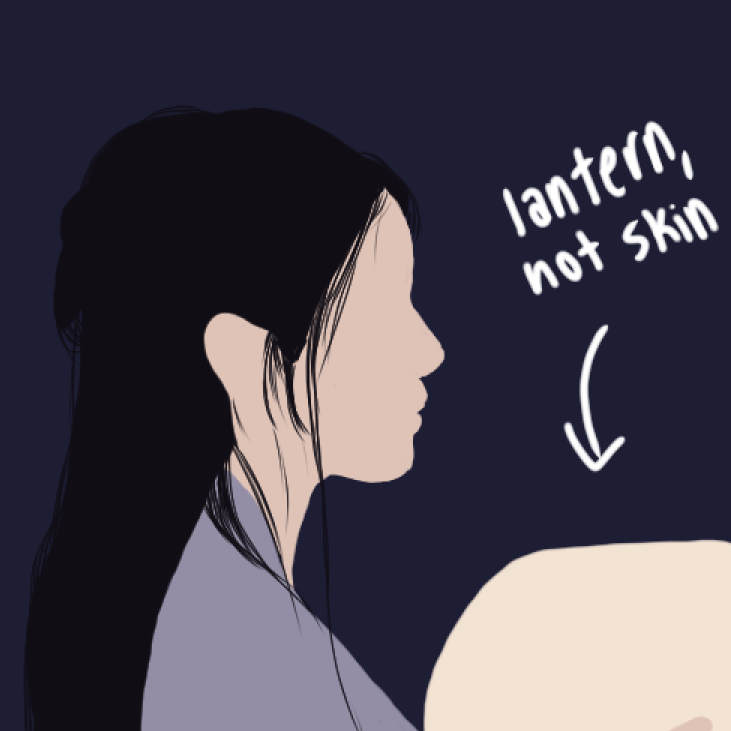
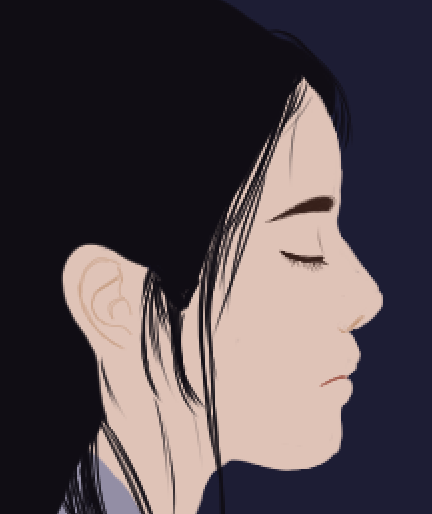
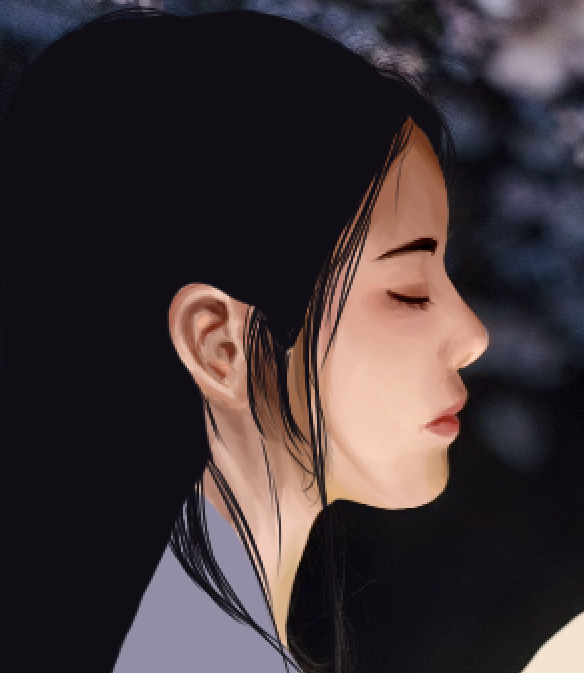
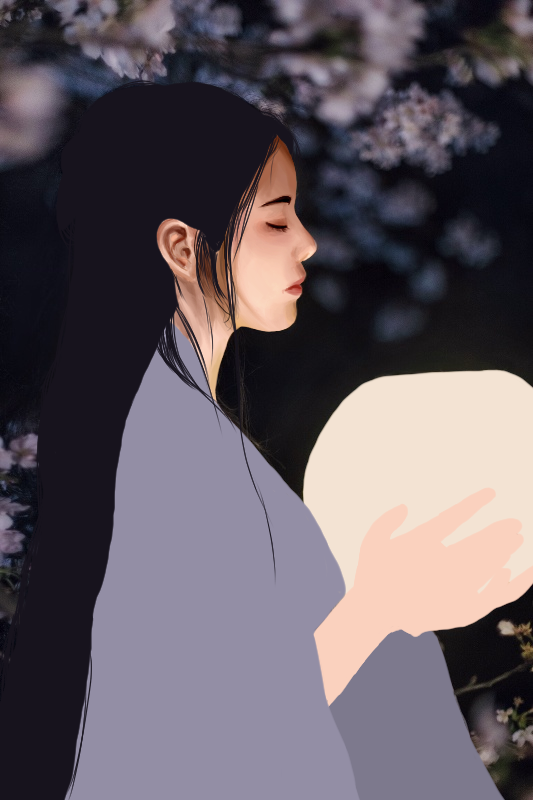
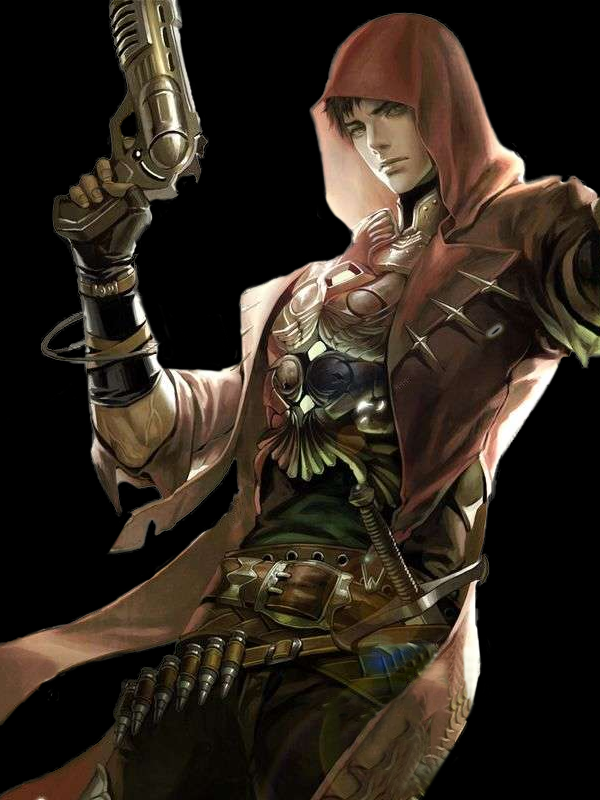
STEP 2: Erase background of person. Refer to Tutorial #2, Step 2 for exact explanations of how to do so/with what tools. Also split ink circle in half, duplicating the bottom half and moving the layer above that of the person so that it creates a more 3D effect.
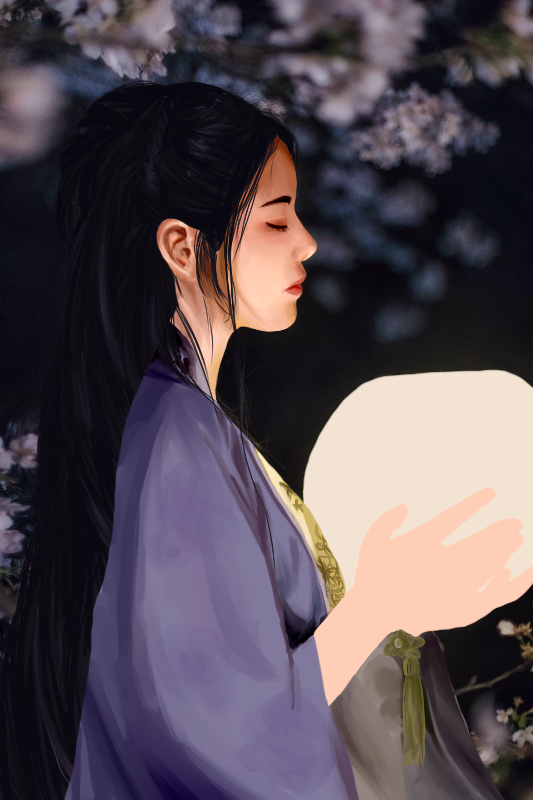
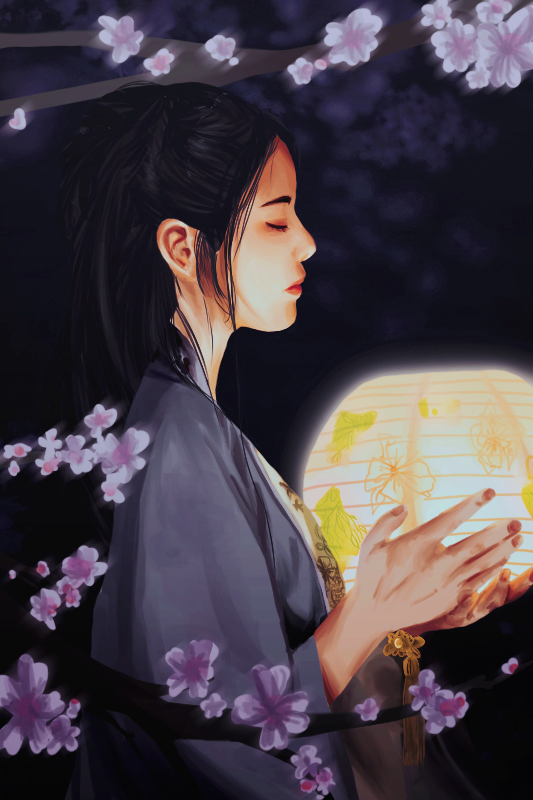
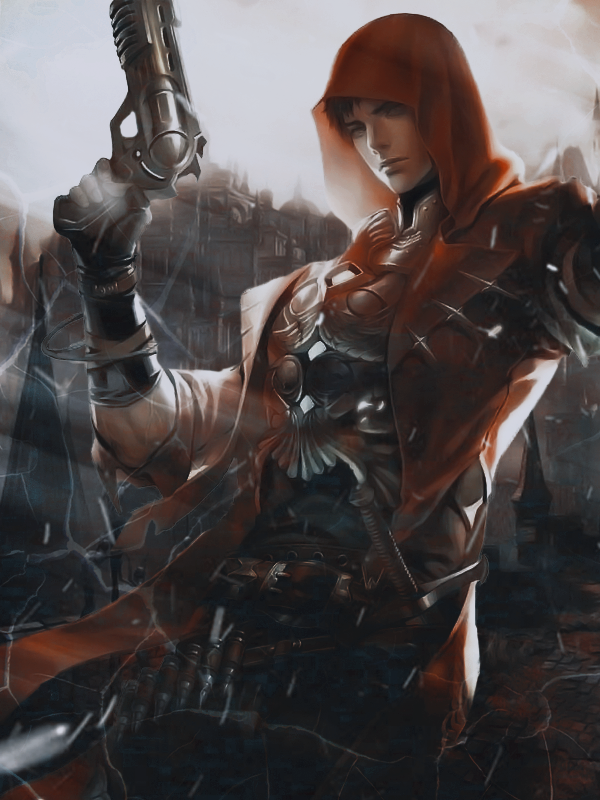
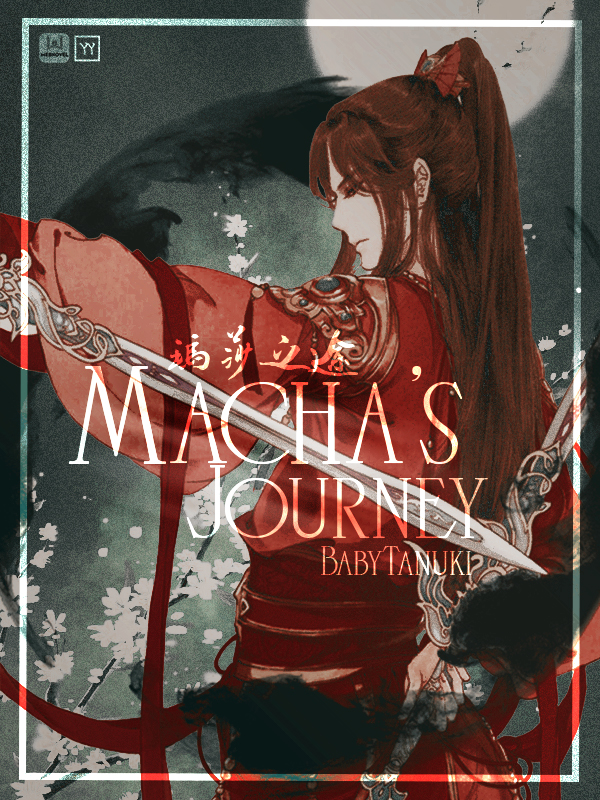
STEP 3: Apply PSD colorings. I used 2 this time to create a dull but vibrant color tone. Also used Film Grain in Filter Gallery to apply a dusty/old effect.

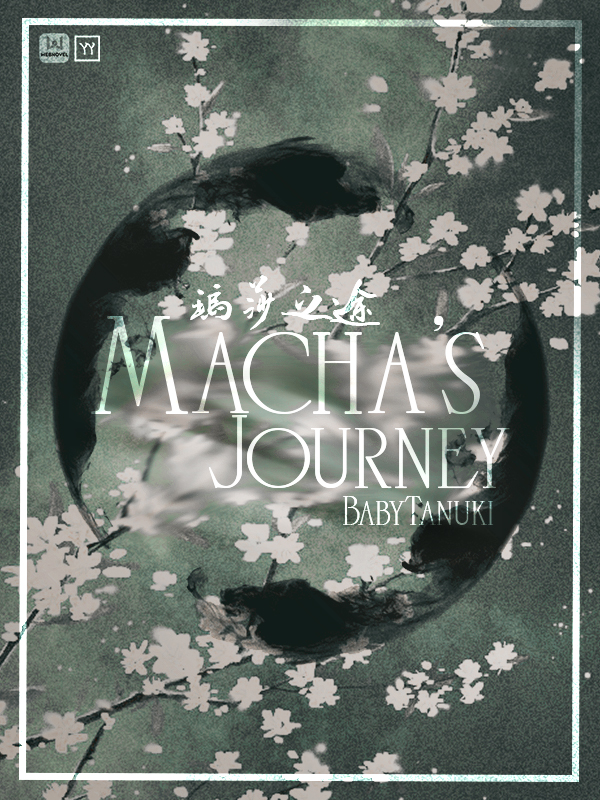
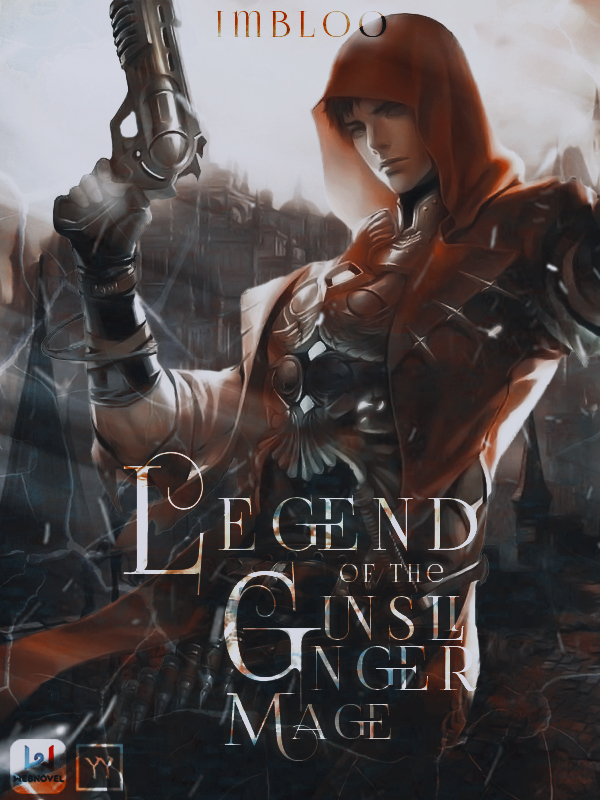
STEP 4: Finish off w/ text. I set text on Overlay again to give a colored glow effect. Add in a border with the Rectangle Tool as well, similarly setting it onto Overlay for the blending mode. You may need to duplicate the text layers multiple times so that the Overlay doesn't fade into the background.
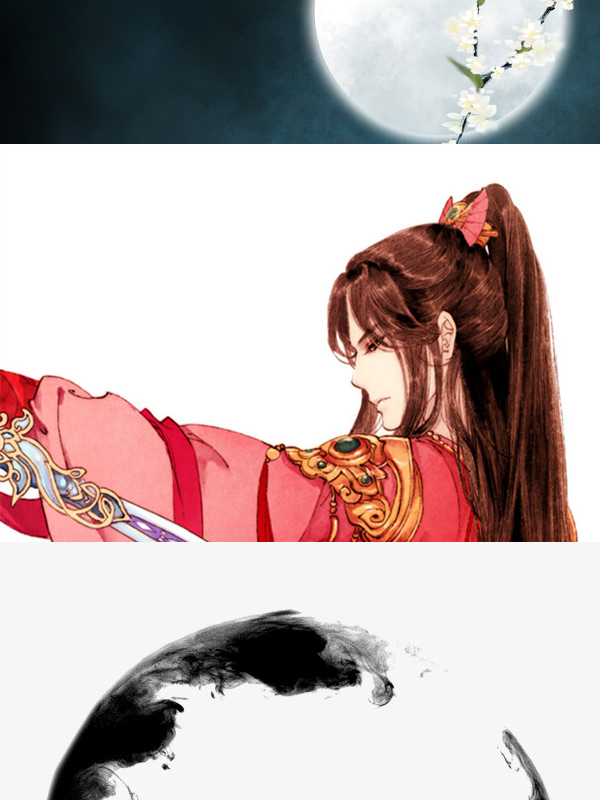
BONUS STEP: To create an alternate version, delete the layer with the person on and arrange everything else to create a visually appealing effect. Blur BG with the Smudge tool to make the text stand out more.